
Alcohol Stove?? Why would you want an alcohol stove? Aren’t they complicated to use?
I have a couple butane stoves that work great. However, as I prep for my eventual dive into cold weather camping, my research has indicated that an alcohol or white fuel stove will burn more consistent than butane at colder temps.
I had plenty of options to buy one and to be honest, that probably would have been easier. However, I’m not one to take the easy way out and I just don’t have the play money to spend. I do enjoy making as much of my own gear as possible. It just gives me a little more sense of pride knowing I MADE it instead of just buying it.
Step 1: The Water Bottle
So to start this project, I had to find a suitable water bottle. Now that can be easier said than done. I started looking last fall trying to spend as little money as possible on it. Unfortunately the bottle I needed was a seasonal product at my local Dollar Store and this year they’re not carrying the aluminum ones.

In my haste to get my hands on the right shaped bottle, I ended up buying an insulated double wall bottle. Unless you get lucky and are super careful, you will not be able to use the inner wall for this project, Believe me, I tried.
Step 2: Cutting the Bottle
For this step, I used a scrap piece of 2×3 to mark where I wanted to cut. I intentionally made it taller to leave myself room for error. I used my Angle Grinder to cut through the water bottle removing what I didn’t need. In addition, I used the grinder to remove enough from the mouth of the bottle to seperate the 2 walls. If I had a metal cutting blade for my chop saw, I could have gotten the cuts alot straighter resulting in alot less sanding required in the following steps.
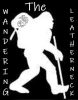
Since this was a double wall water bottle, I thought I was going to be able to get 2 stoves from it. Well, in the pressing process, things didn’t exactly go according to plan. So unless you have a way to press the thinner inner wall to form a stove from, you may not be able to use it and will only get one stove using the outter.

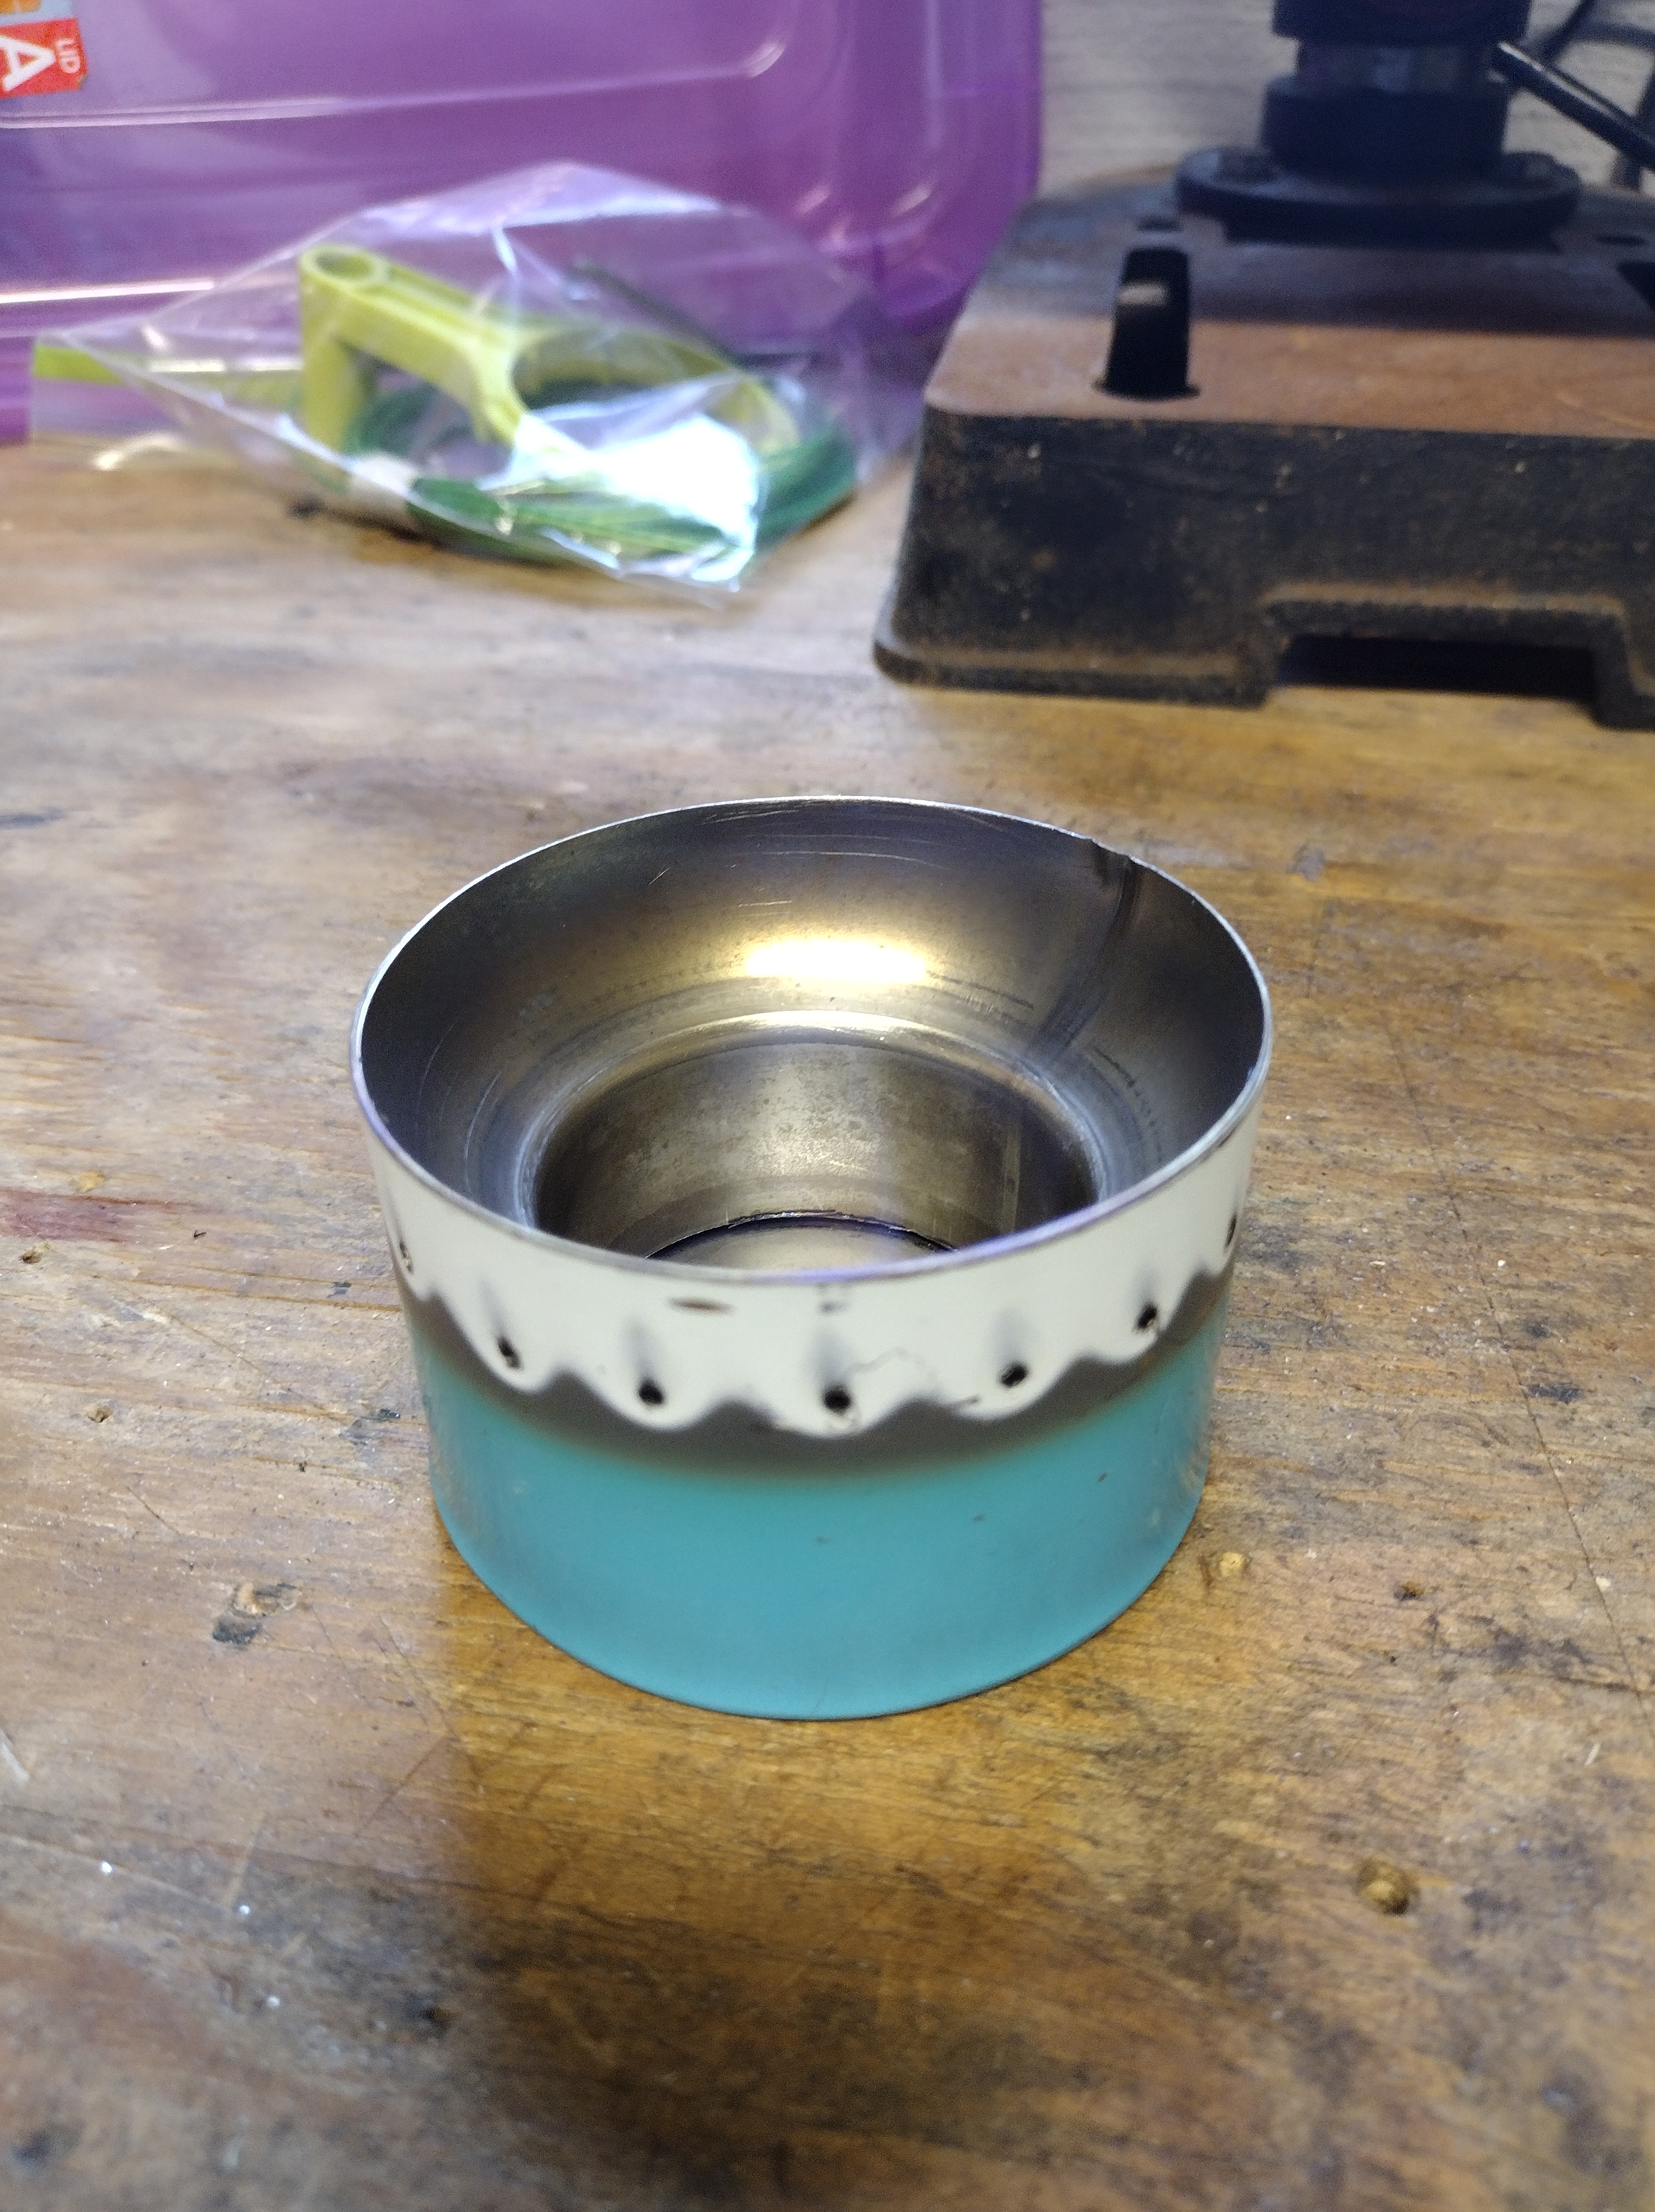
Step 3: Assembly
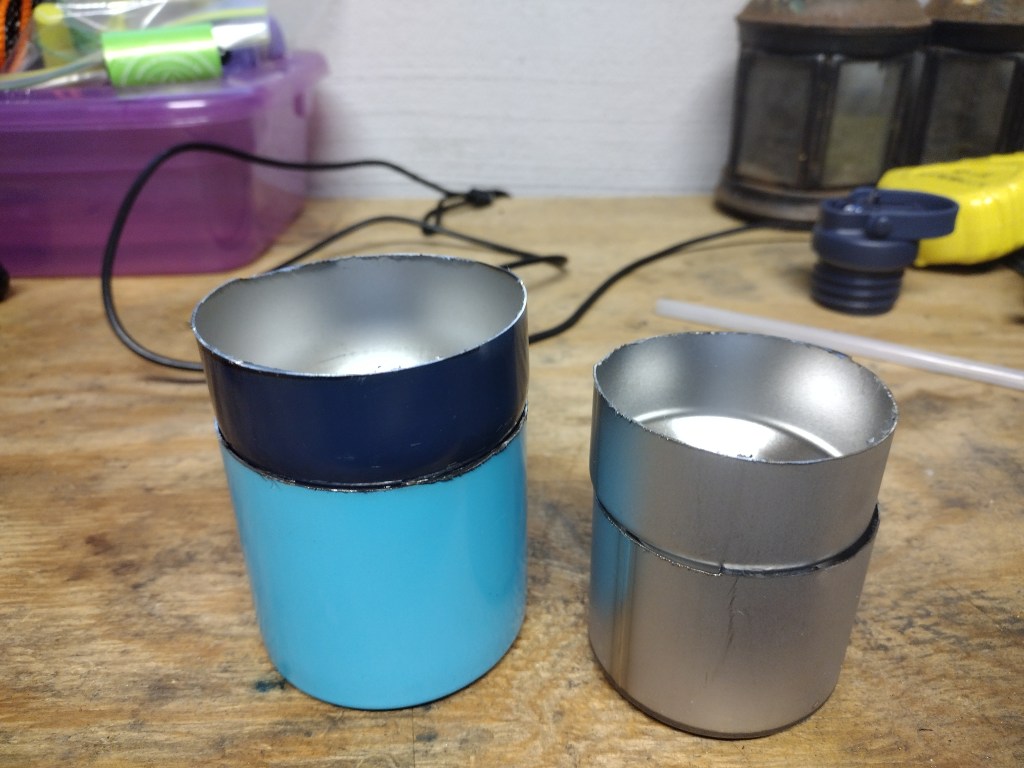
Once everything was sanded (I used 60 grit sand paper) and I was happy with it, I used a stone bit with my Dremel tool to cut channels to allow the fuel to flow from the inner chamber to the outer. Then keeping the inner wall as level with the outter, I used the same 2×3 and a hammer to press the the 2 walls together till the bottom of both walls were touching.
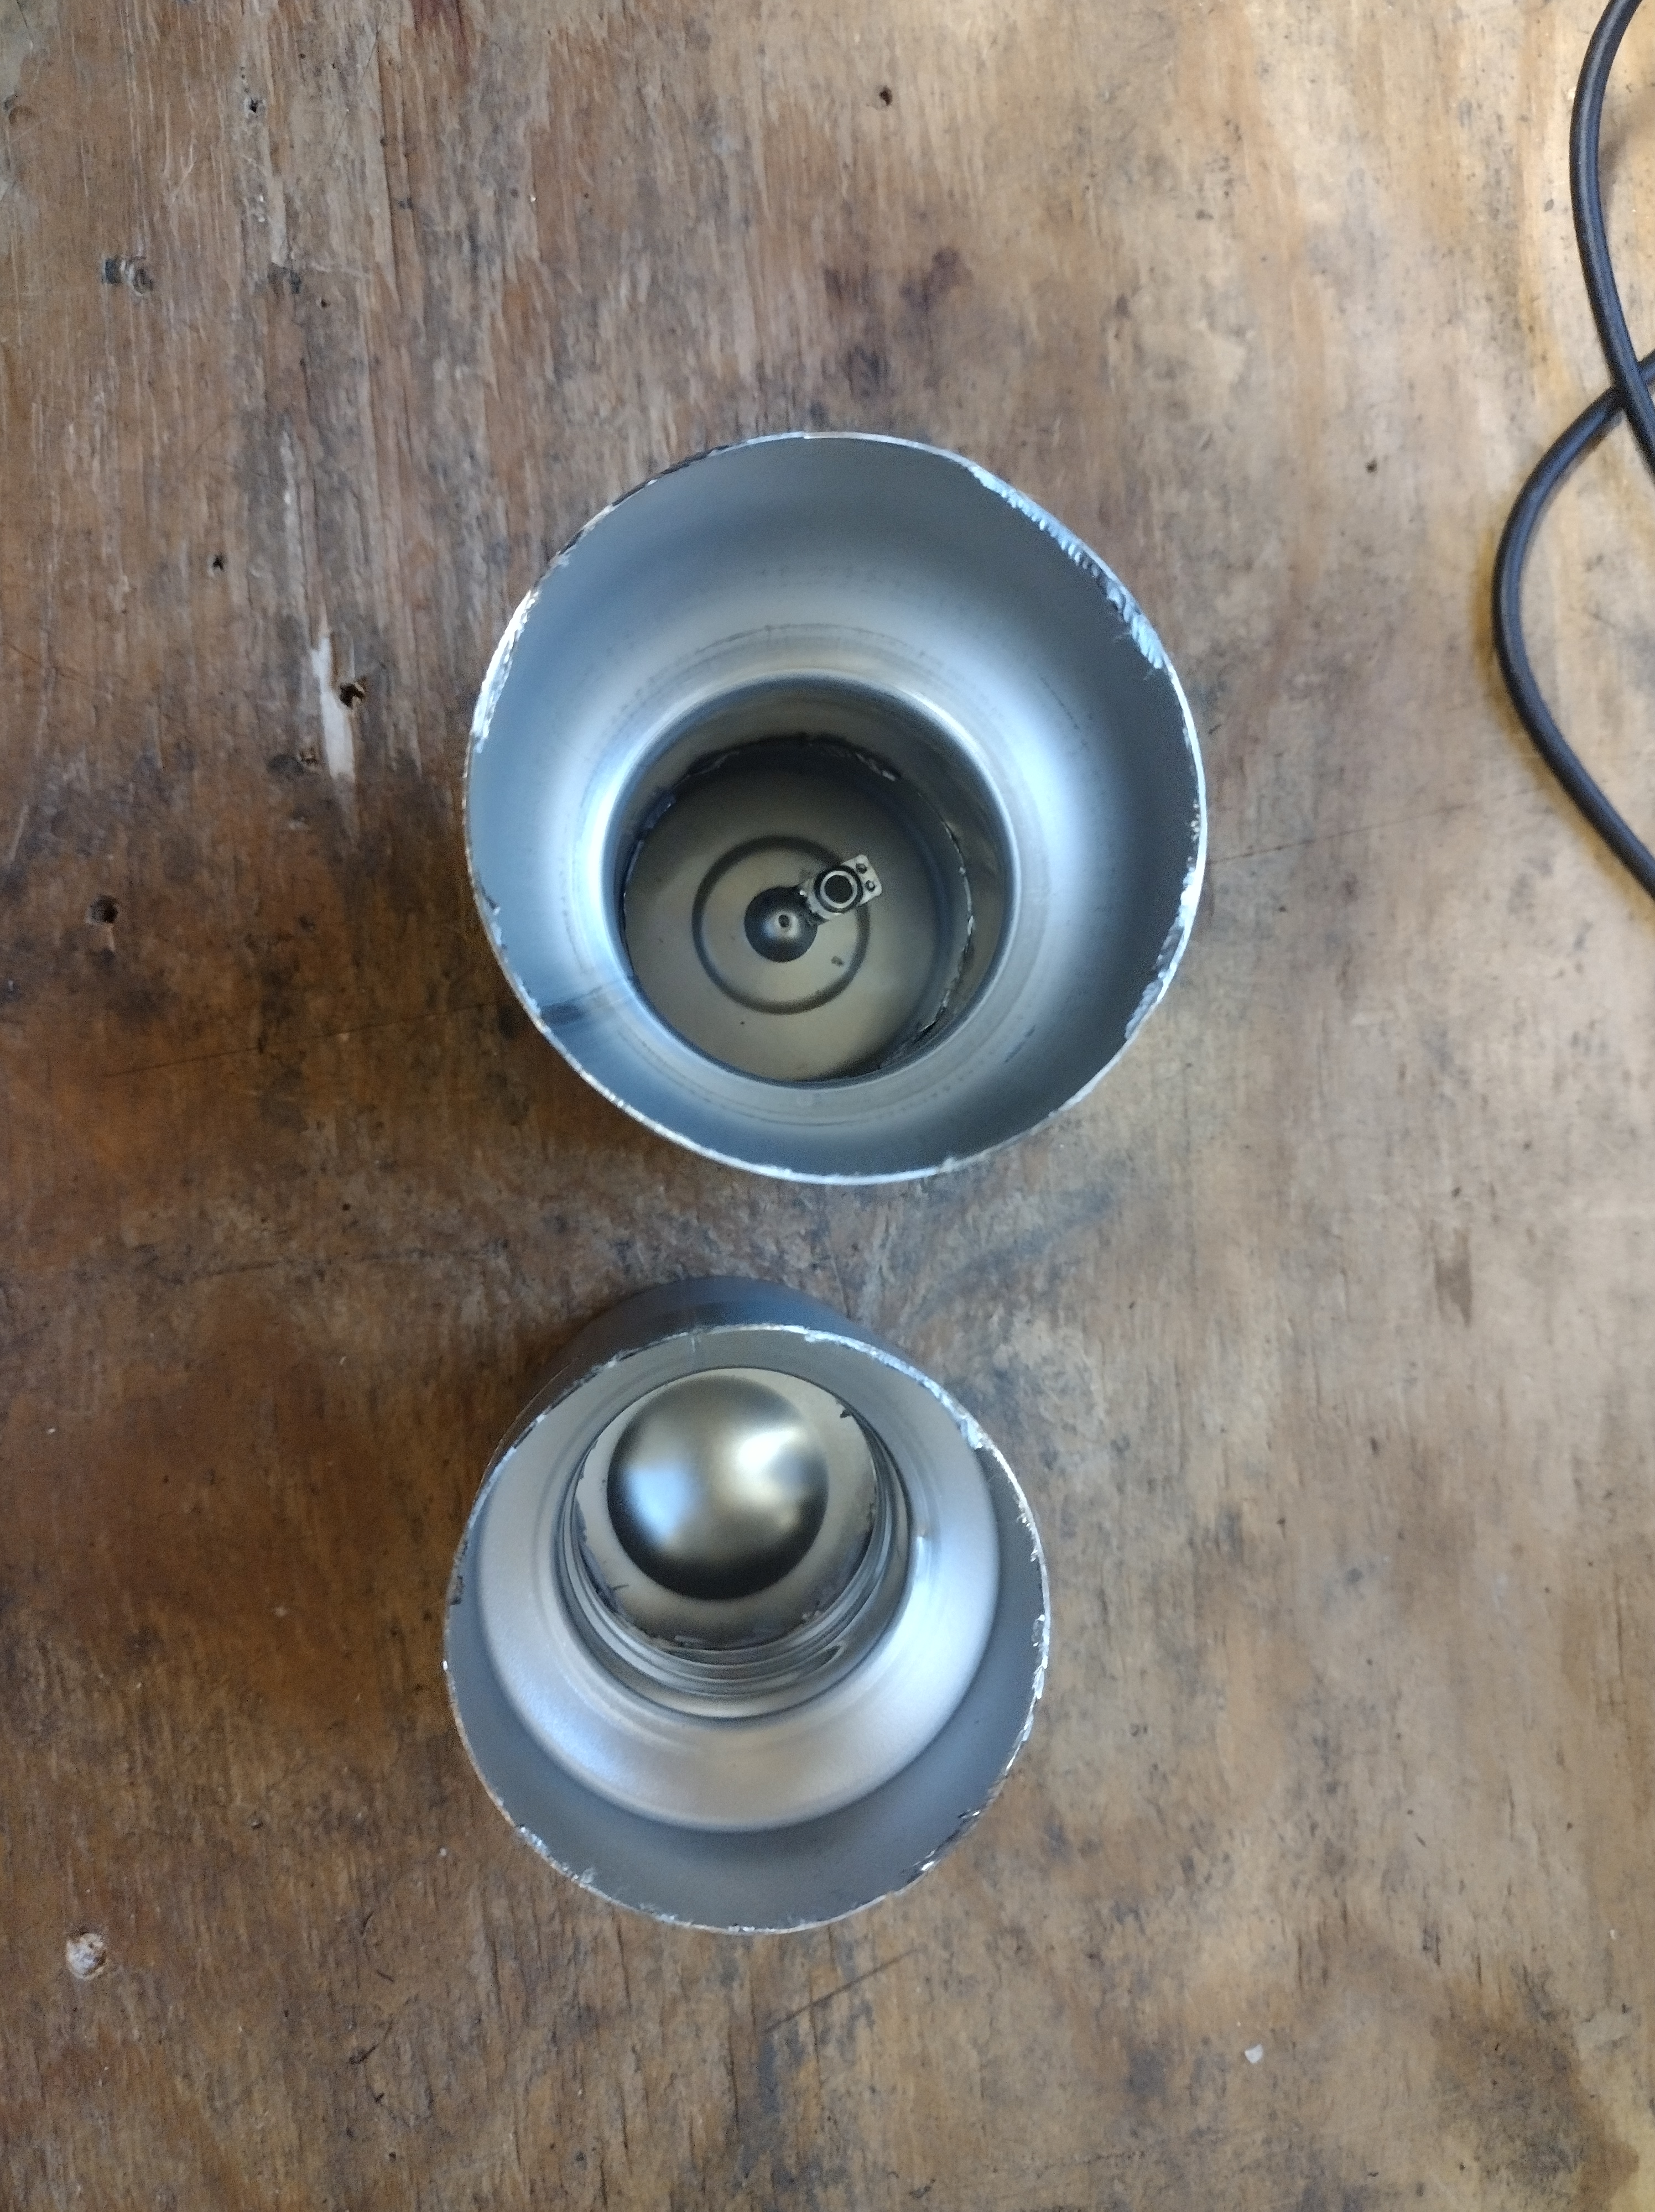
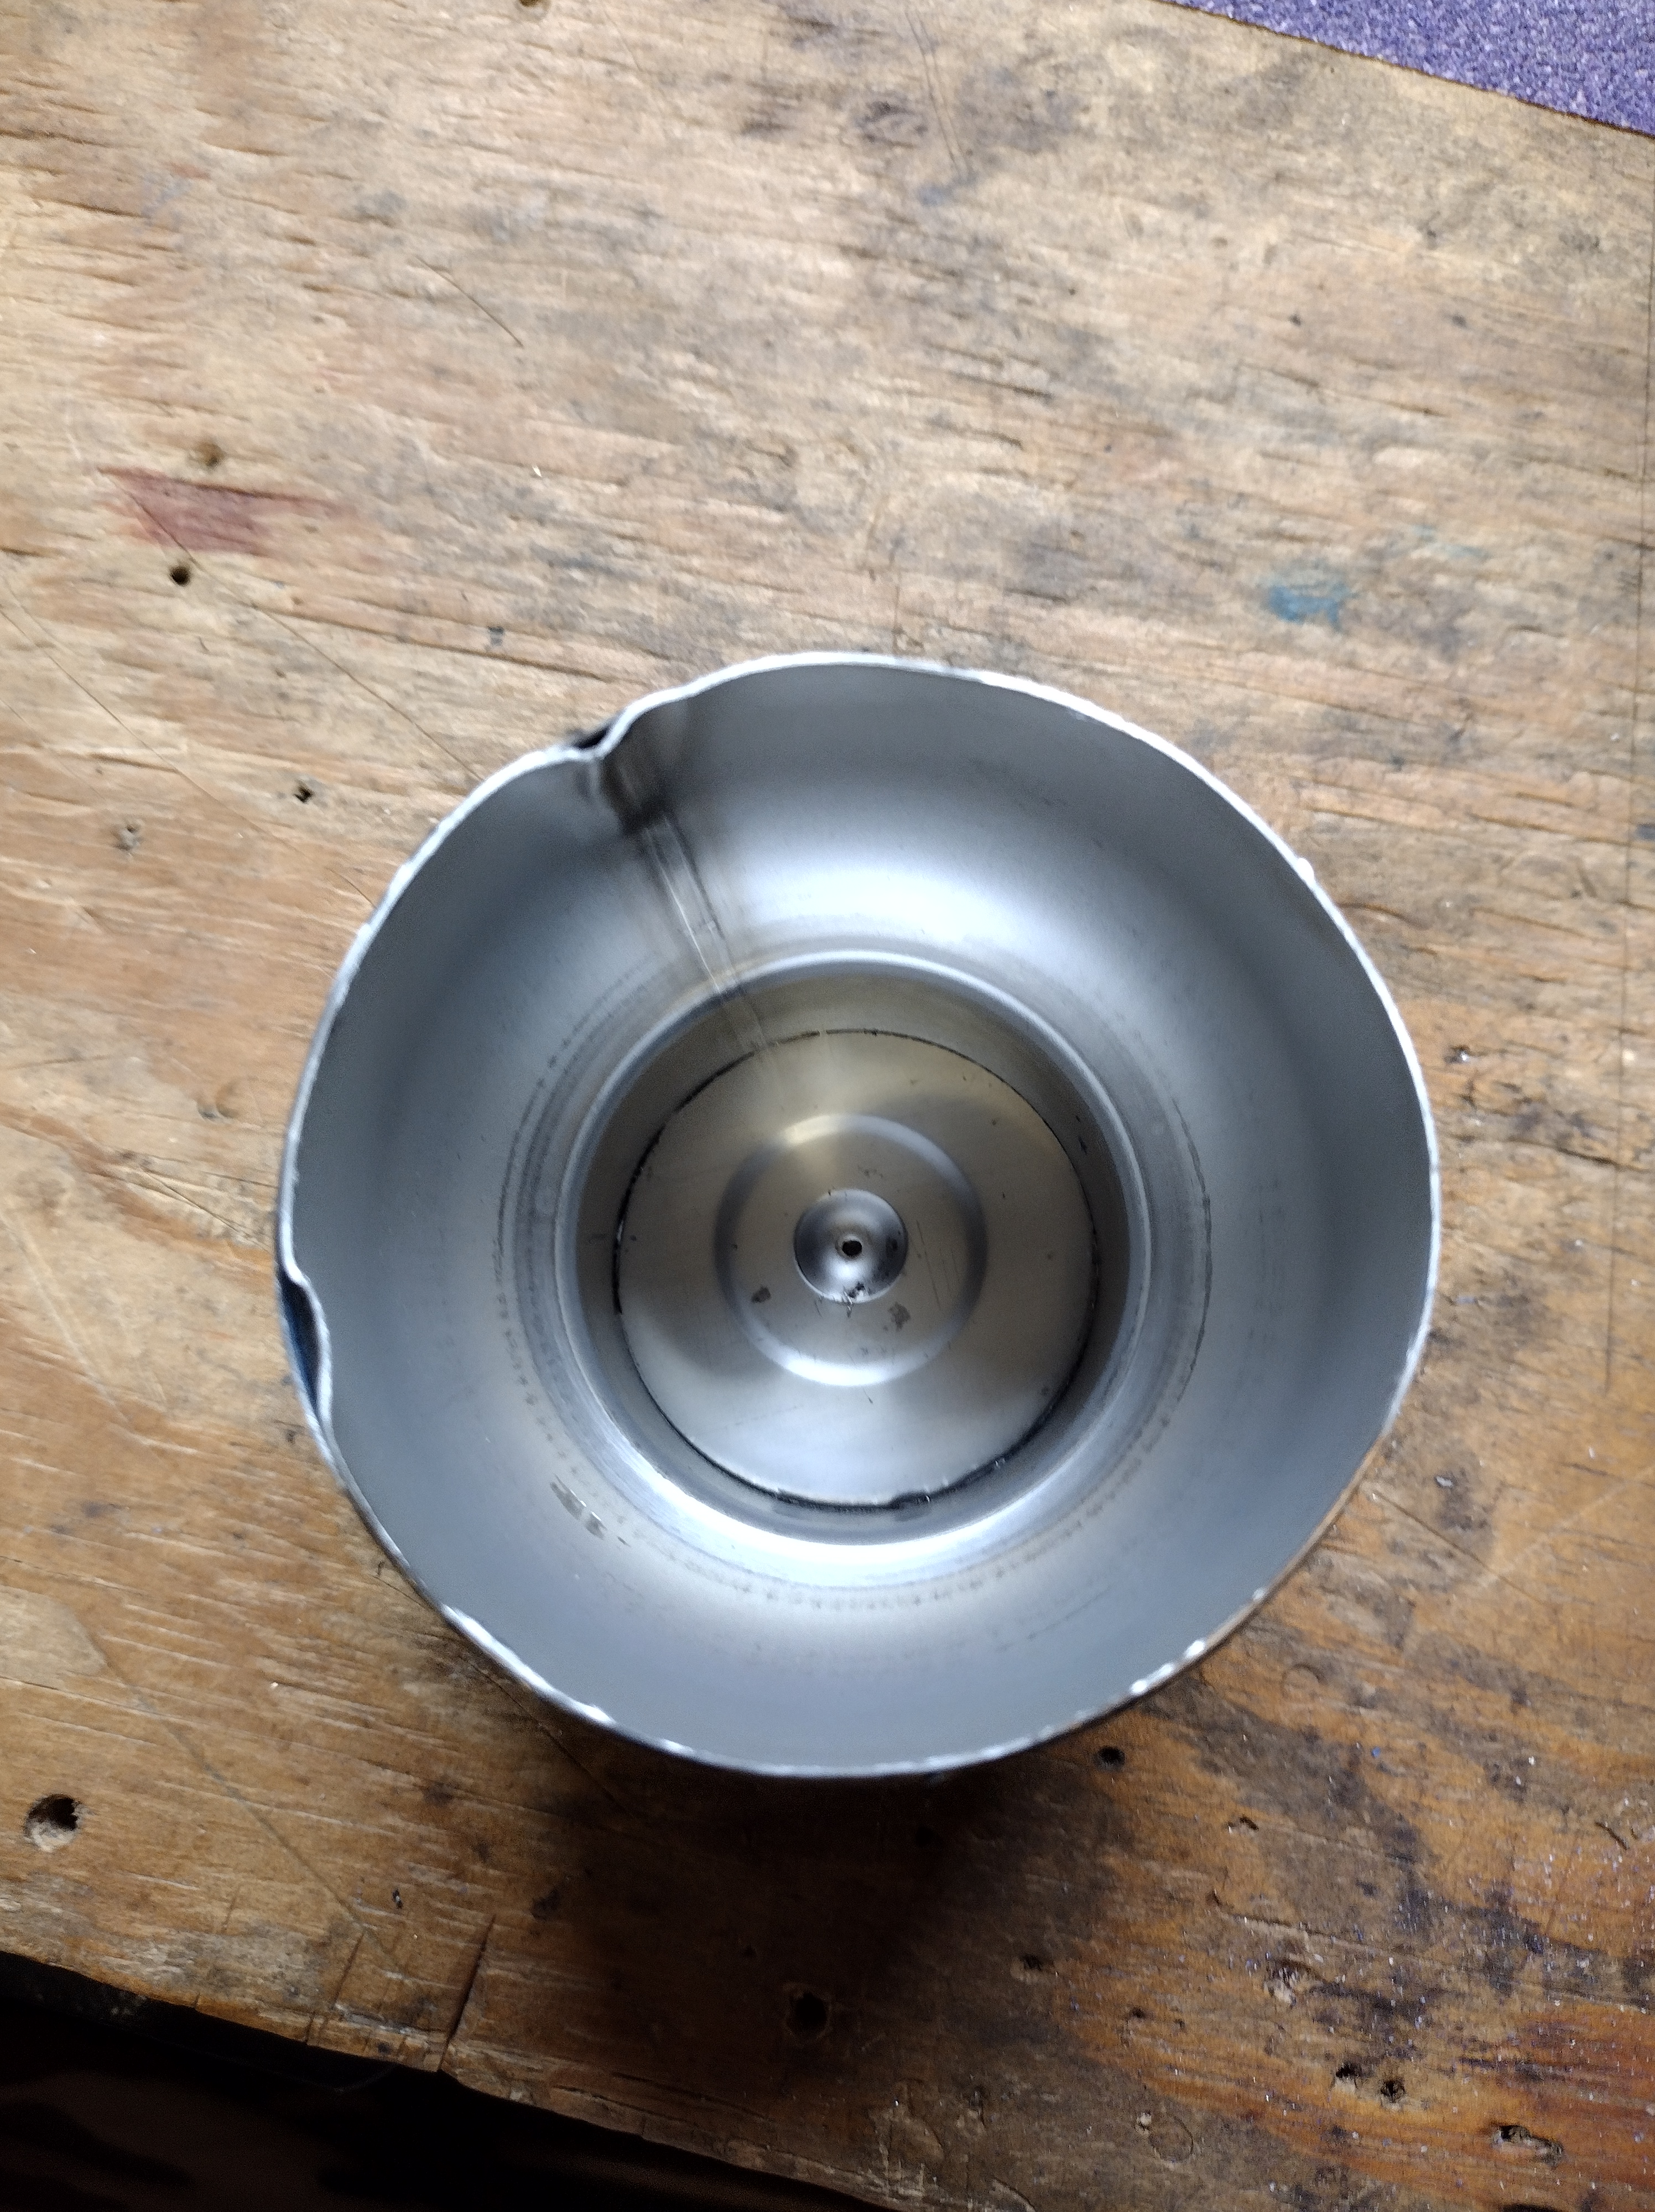
At this point, once I was happy with the assembly, I measured for the vent holes placing them 1/2 inch appart going around the circumference. Then I measured for the final highth and drew that line.
Finishing up
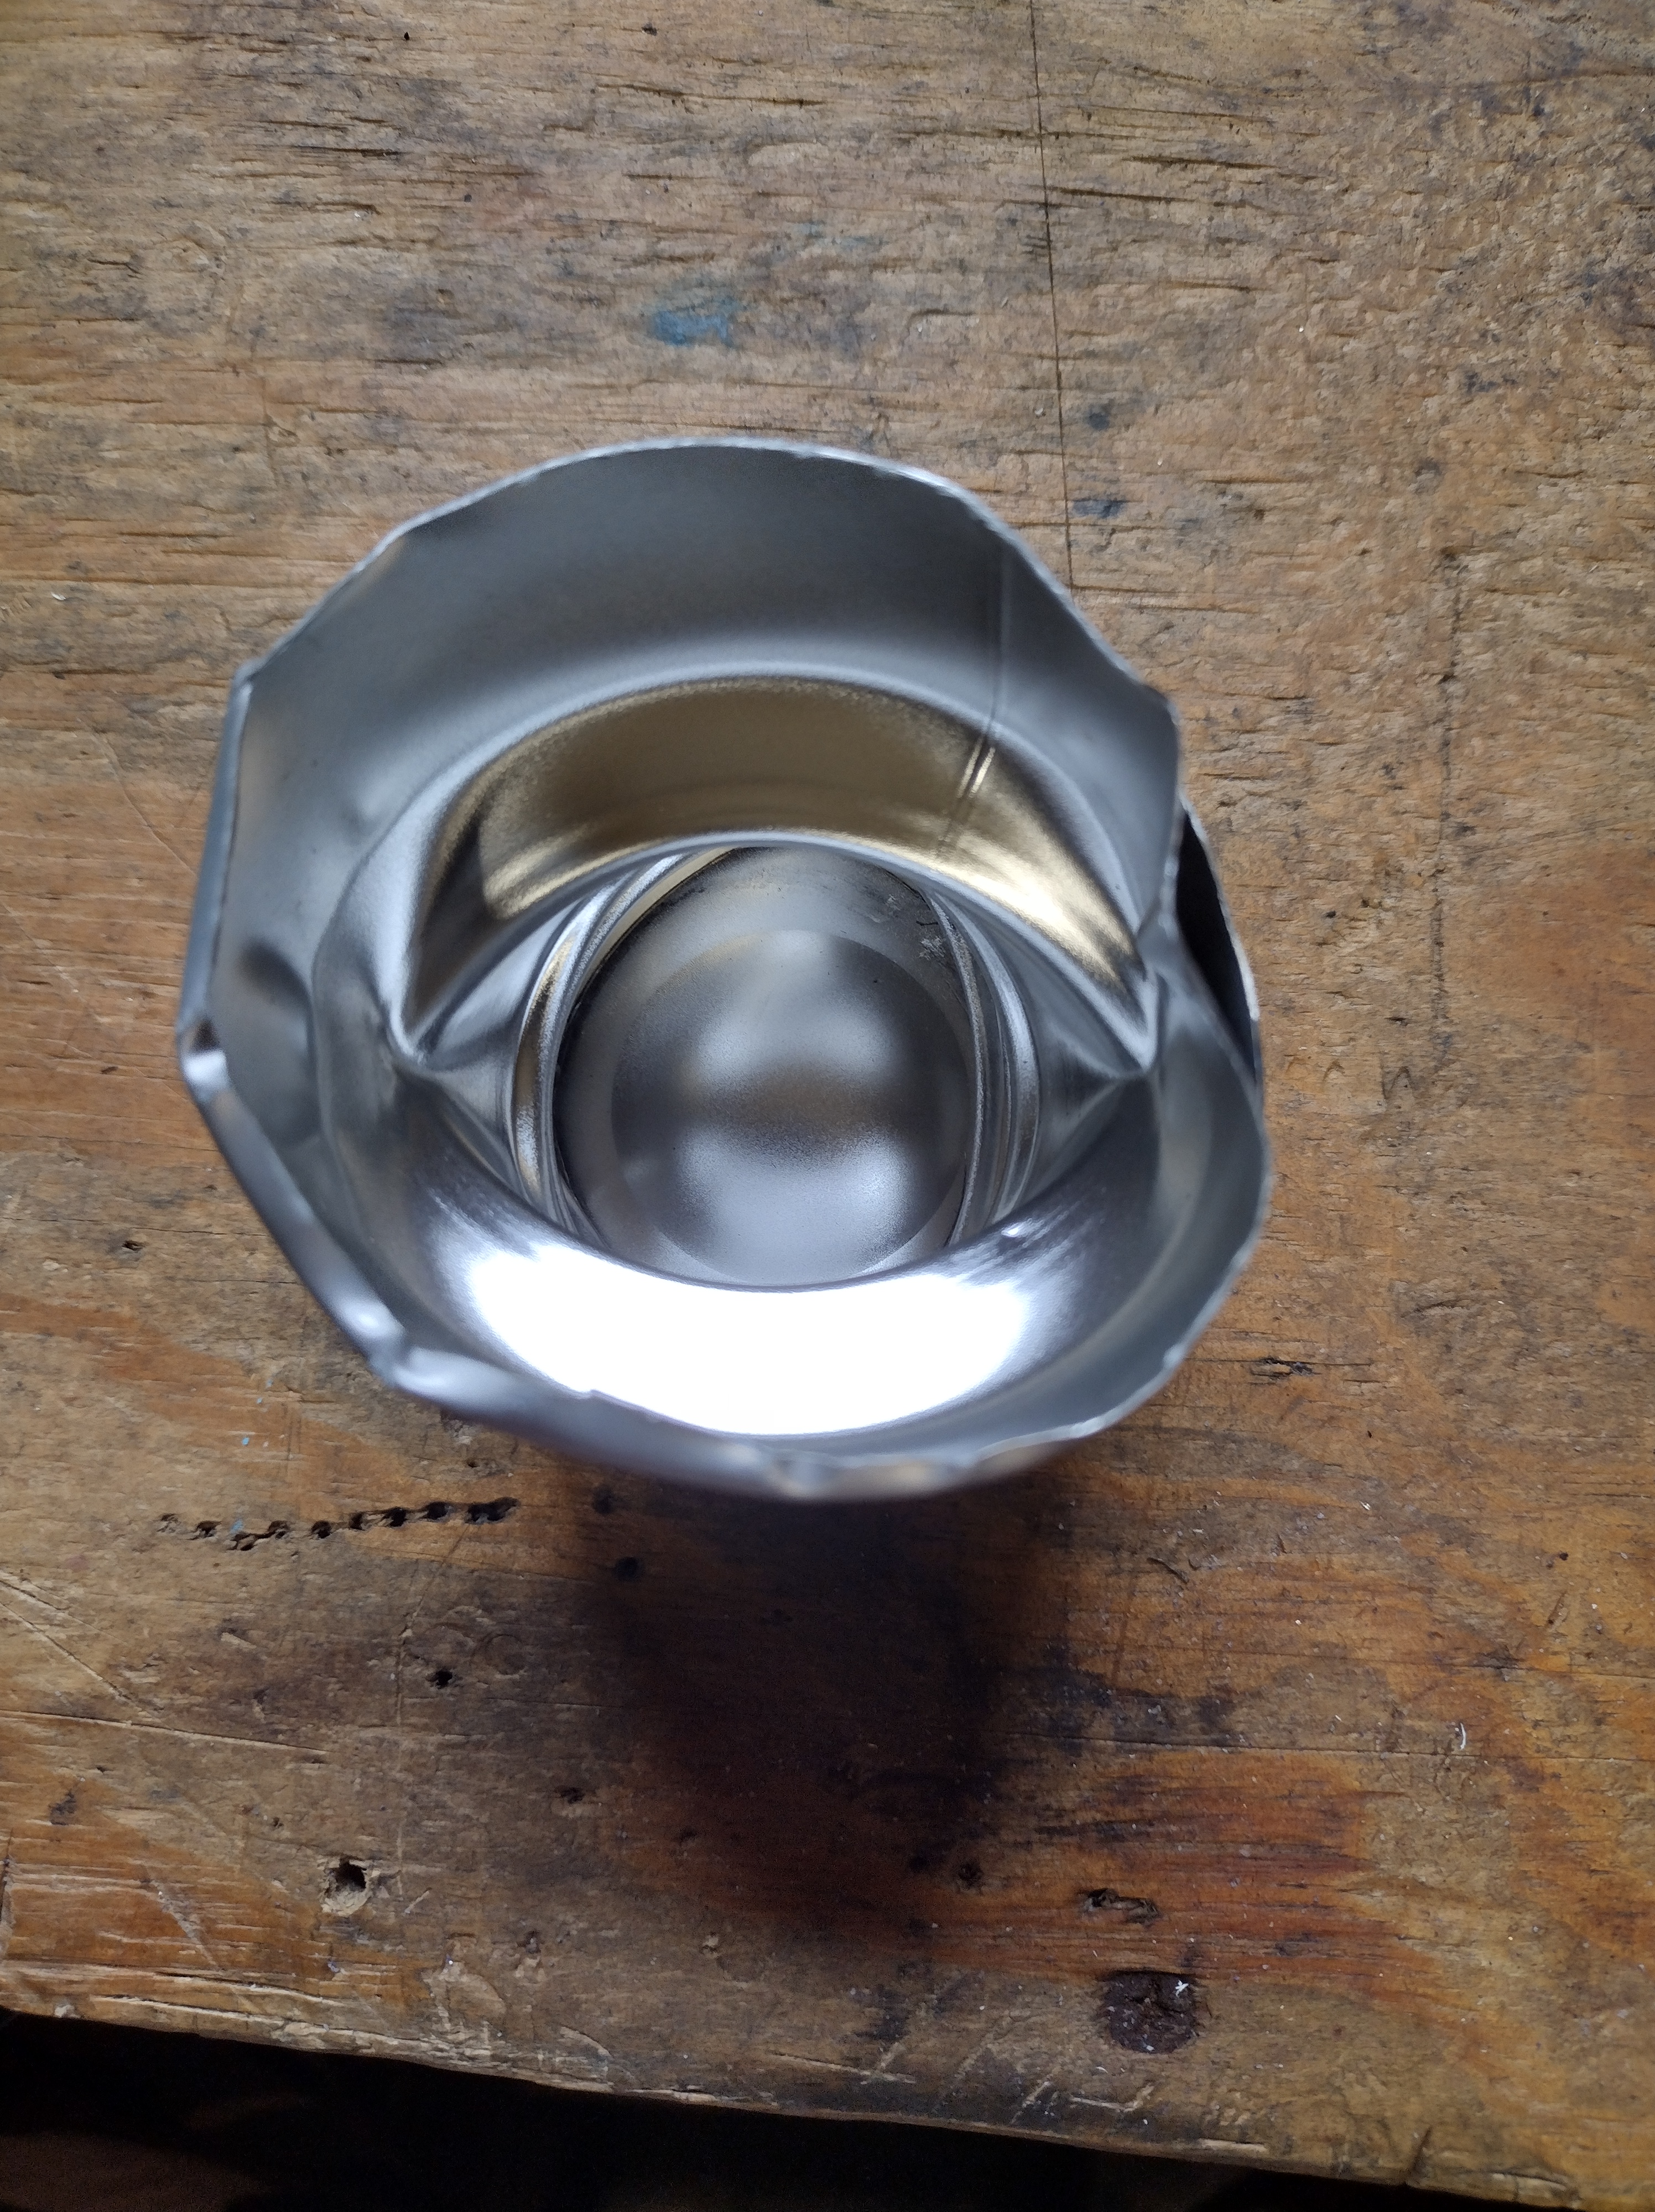
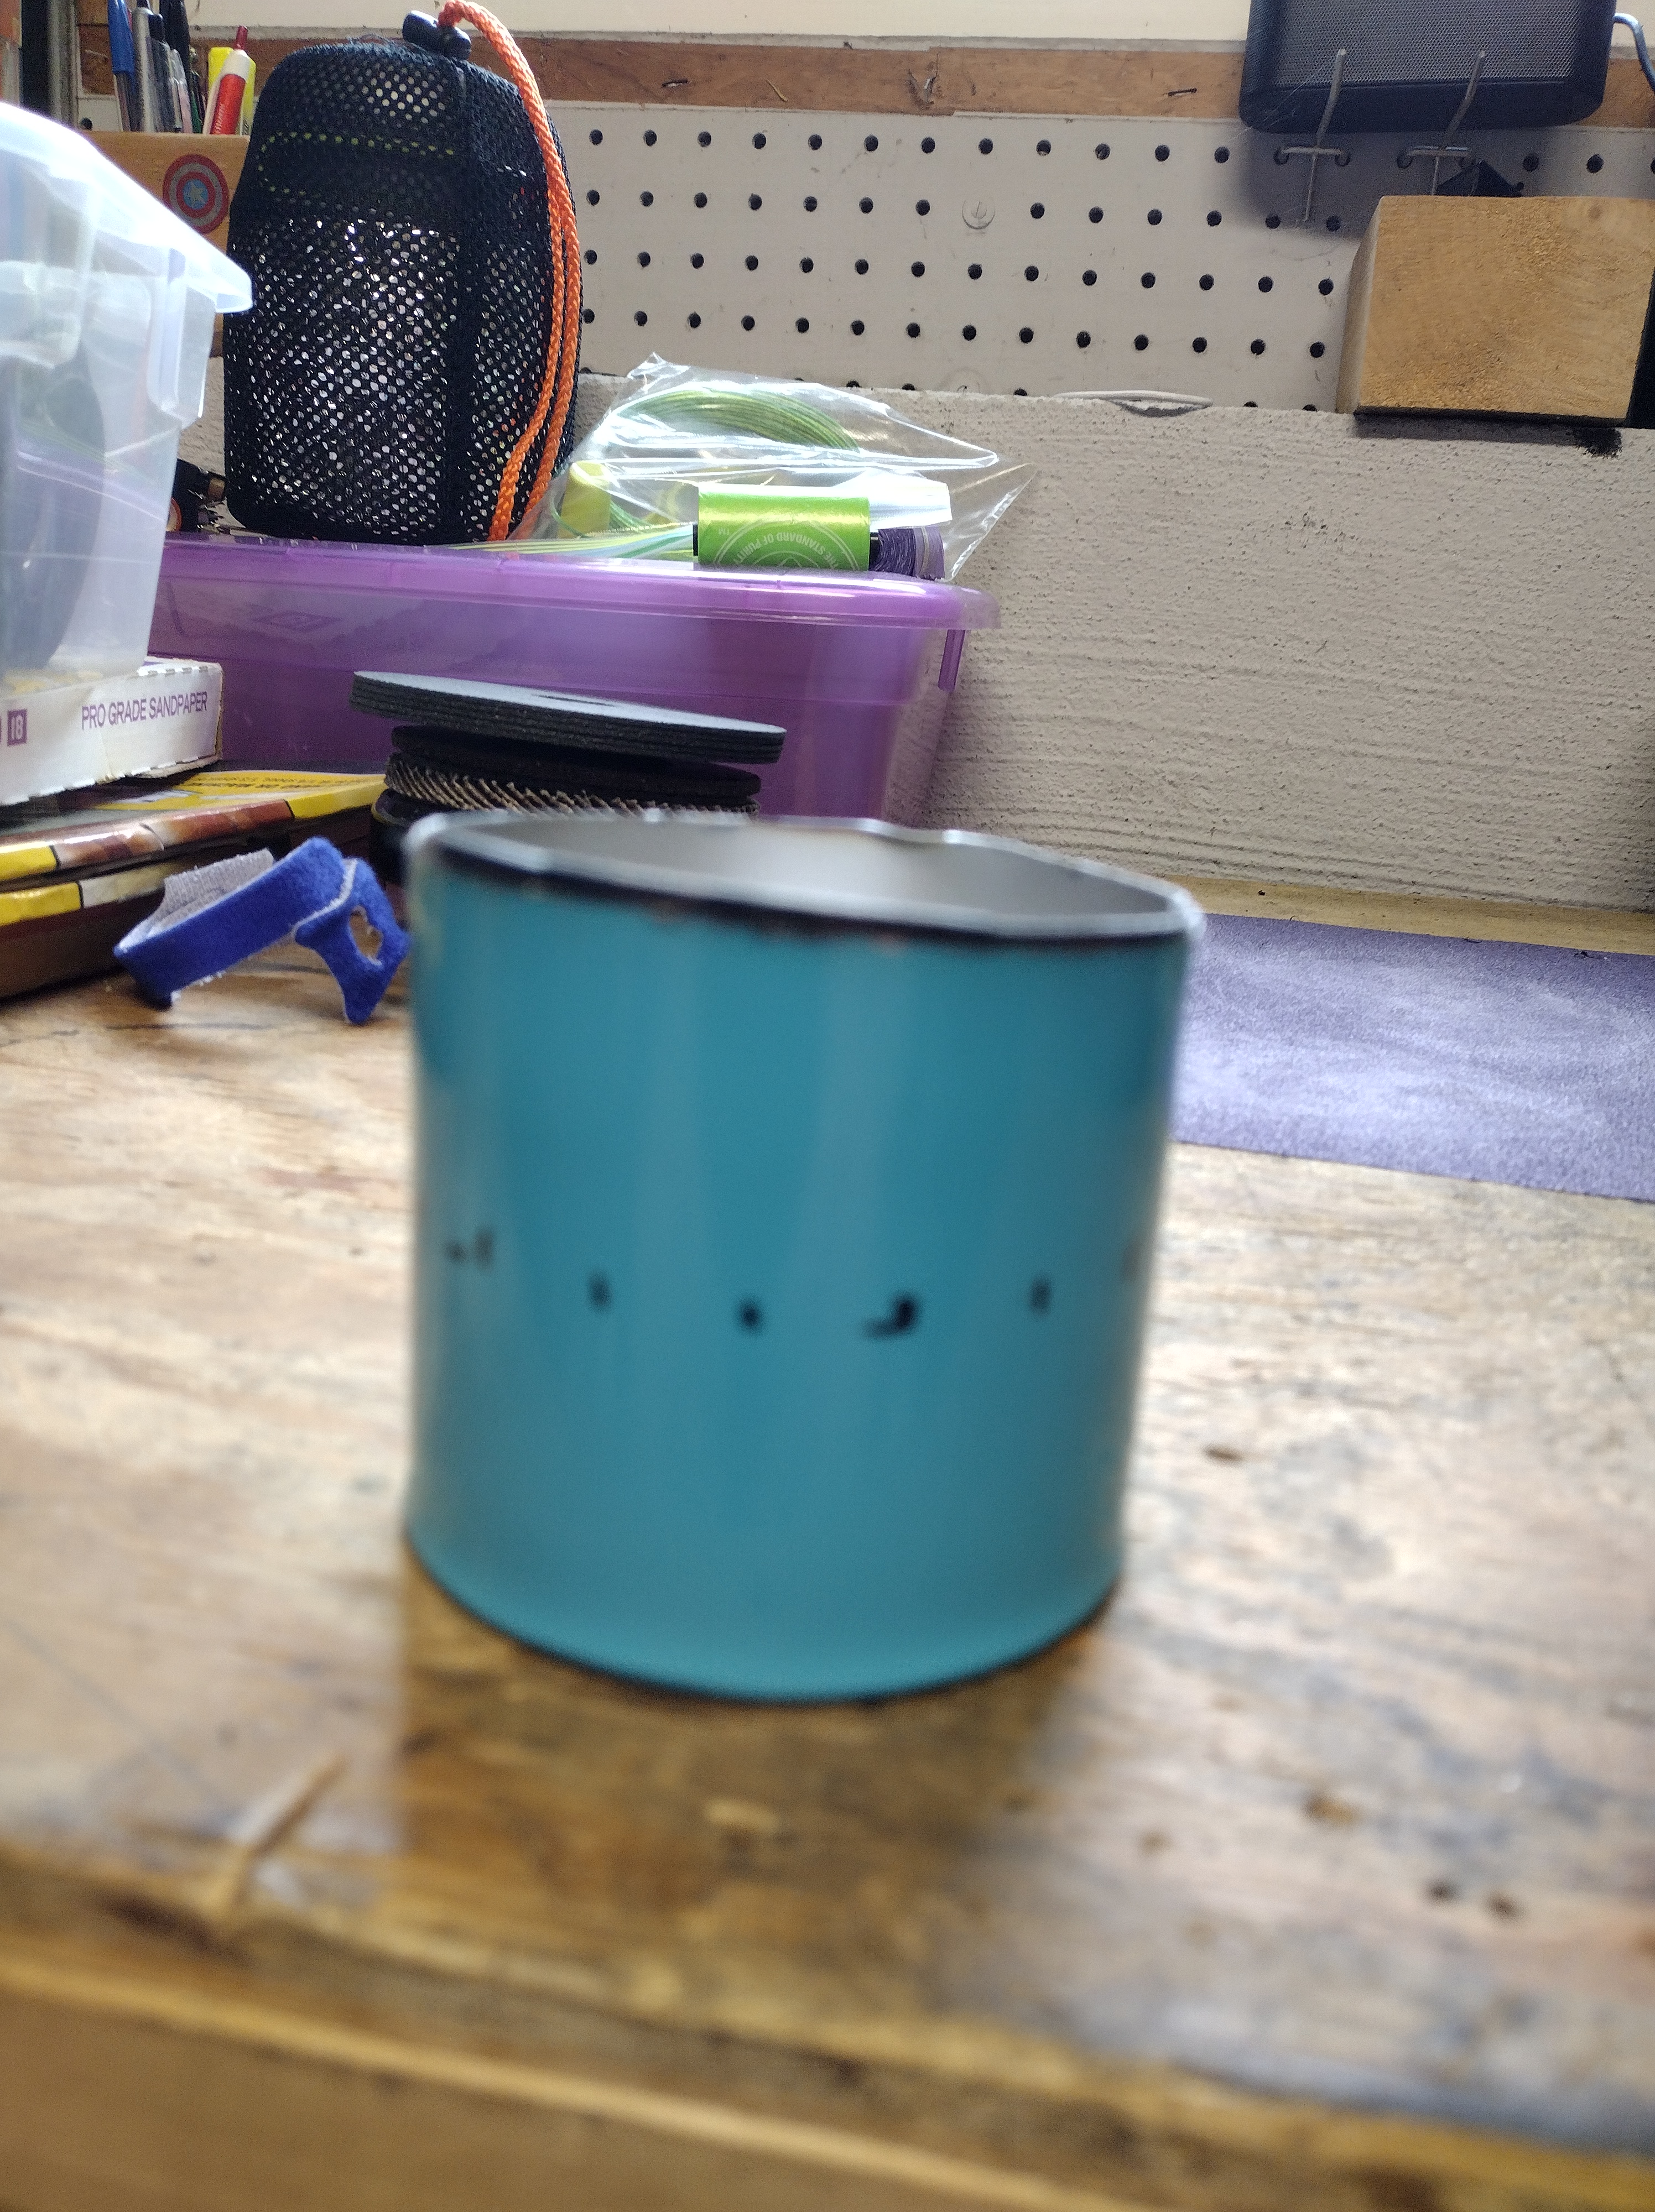
With the finish line in sight, I broke out the Angle Grinder again and cut along the line I drew. I then flipped the grinder on its back and held it on the garage floor with one hand while I evened out the top of the stove making it as level as possible by eyeballing it and placing a pot on it to test.
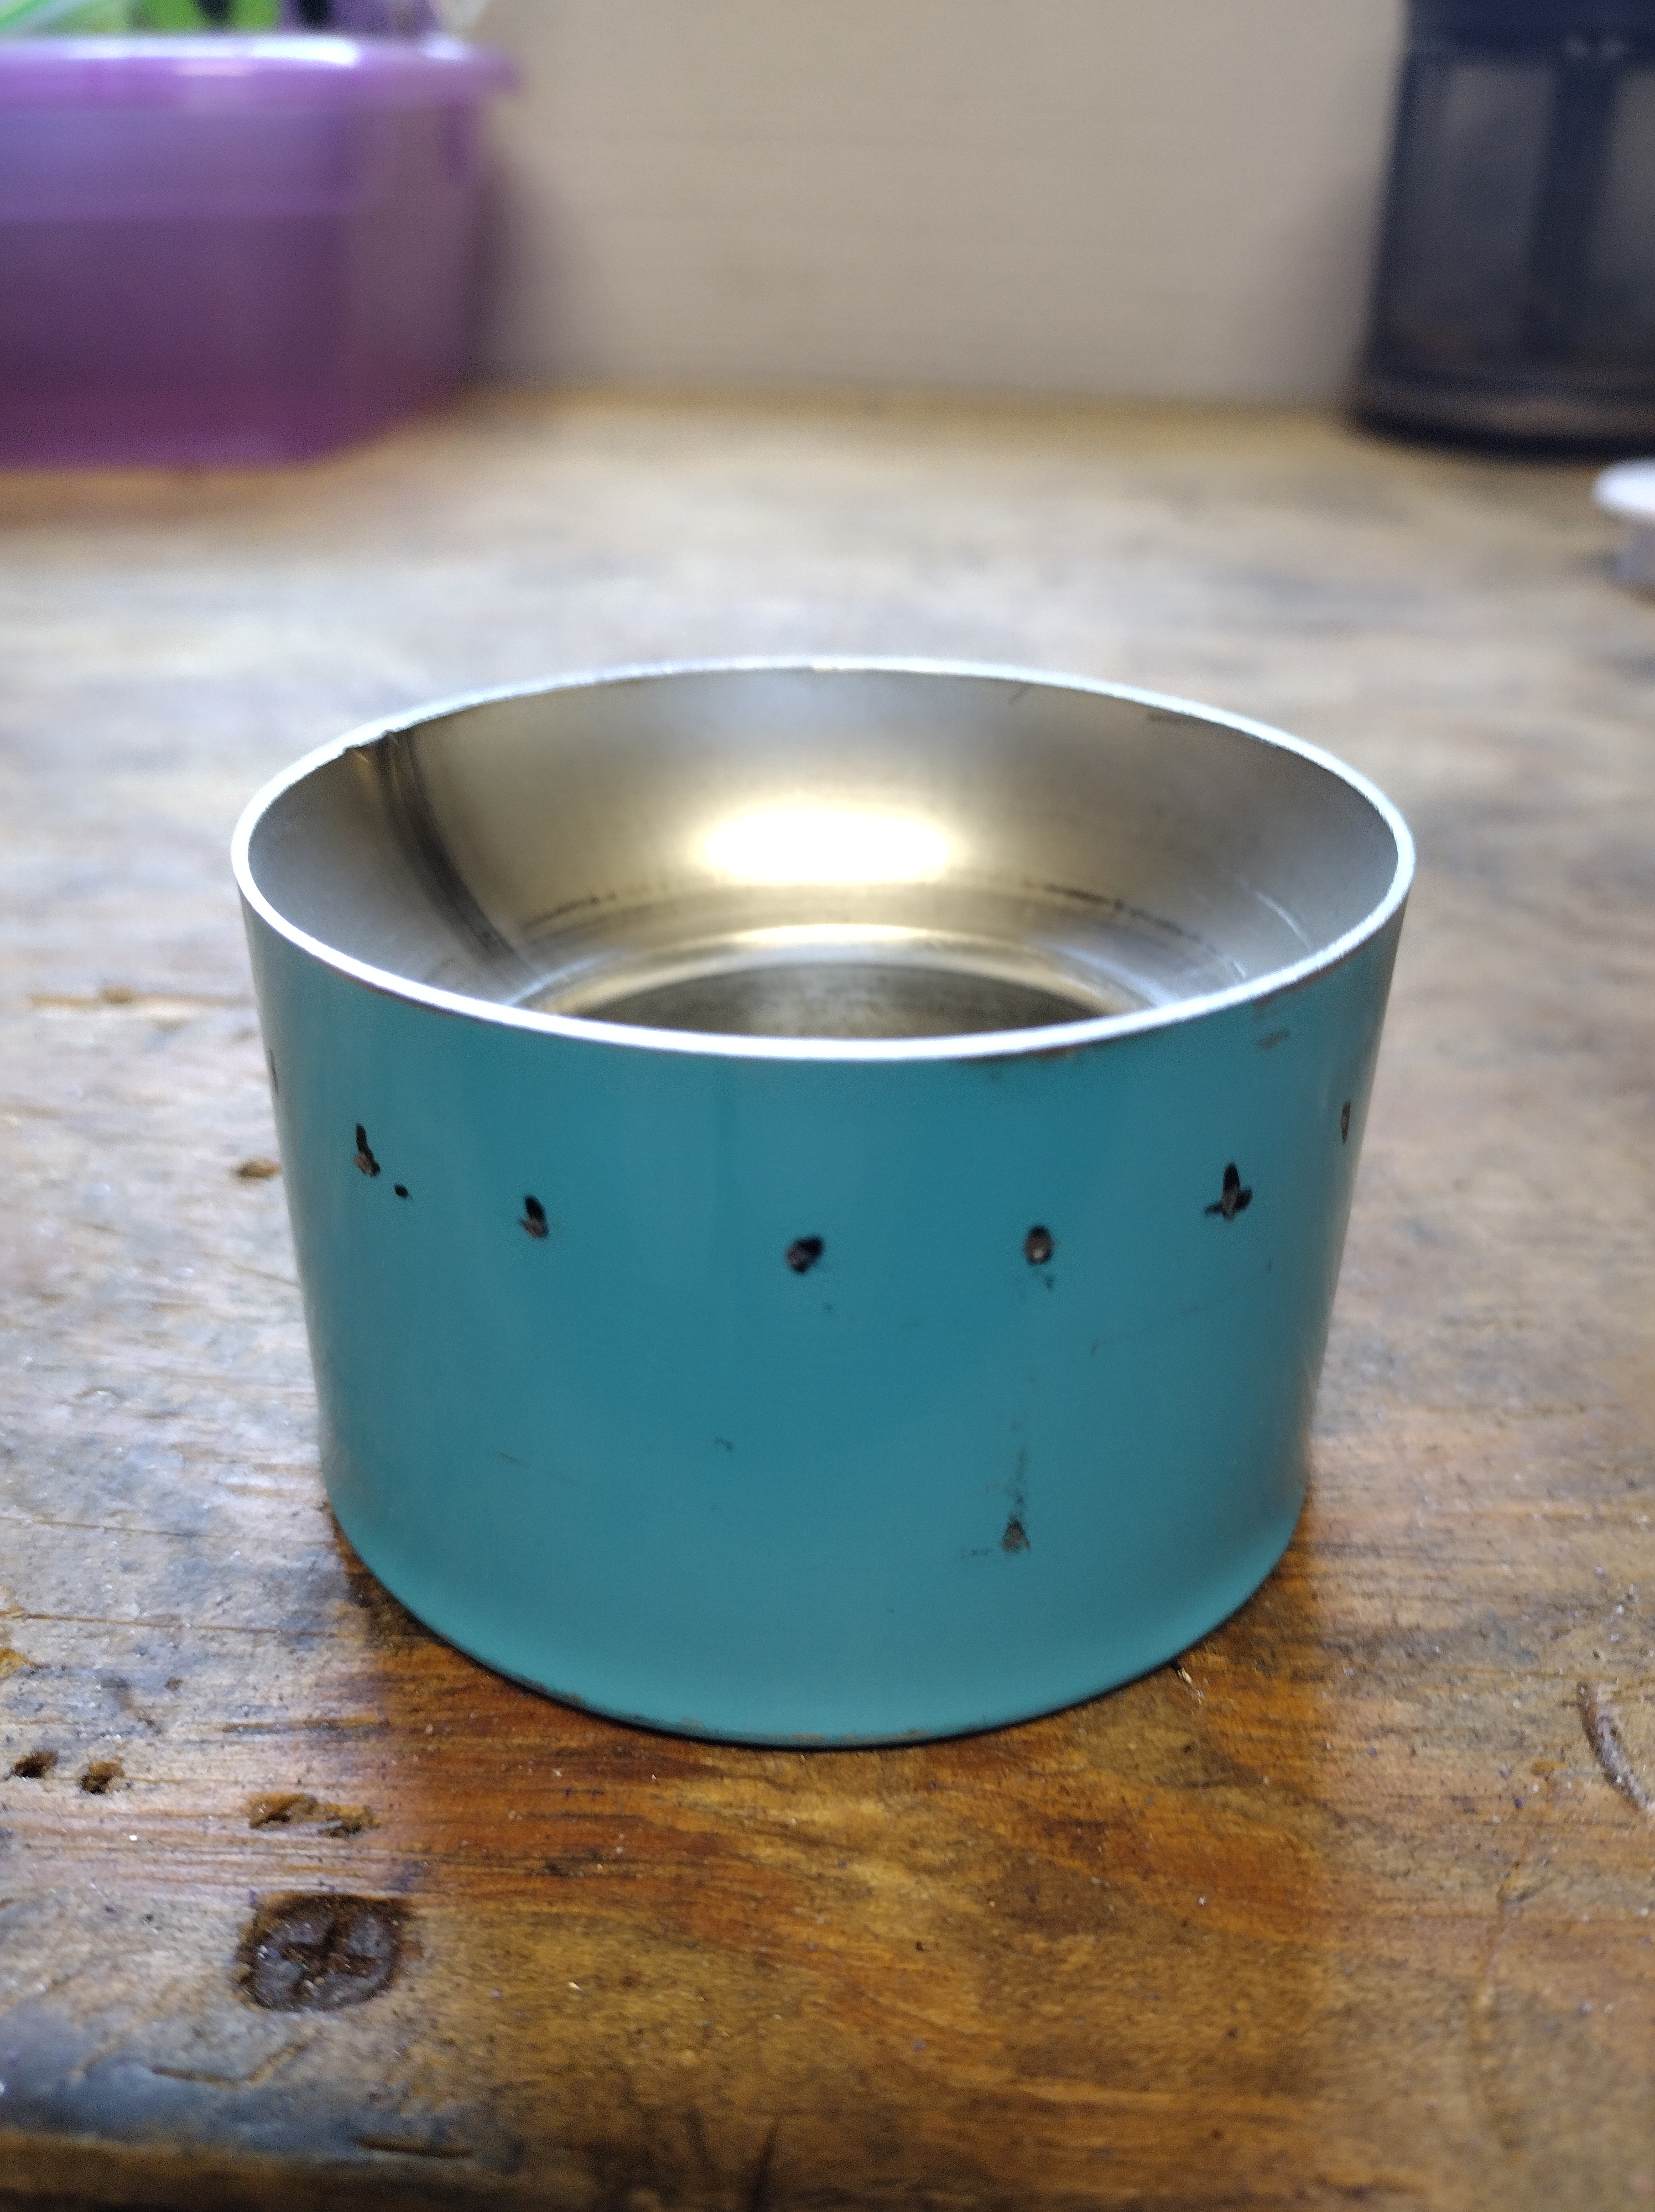
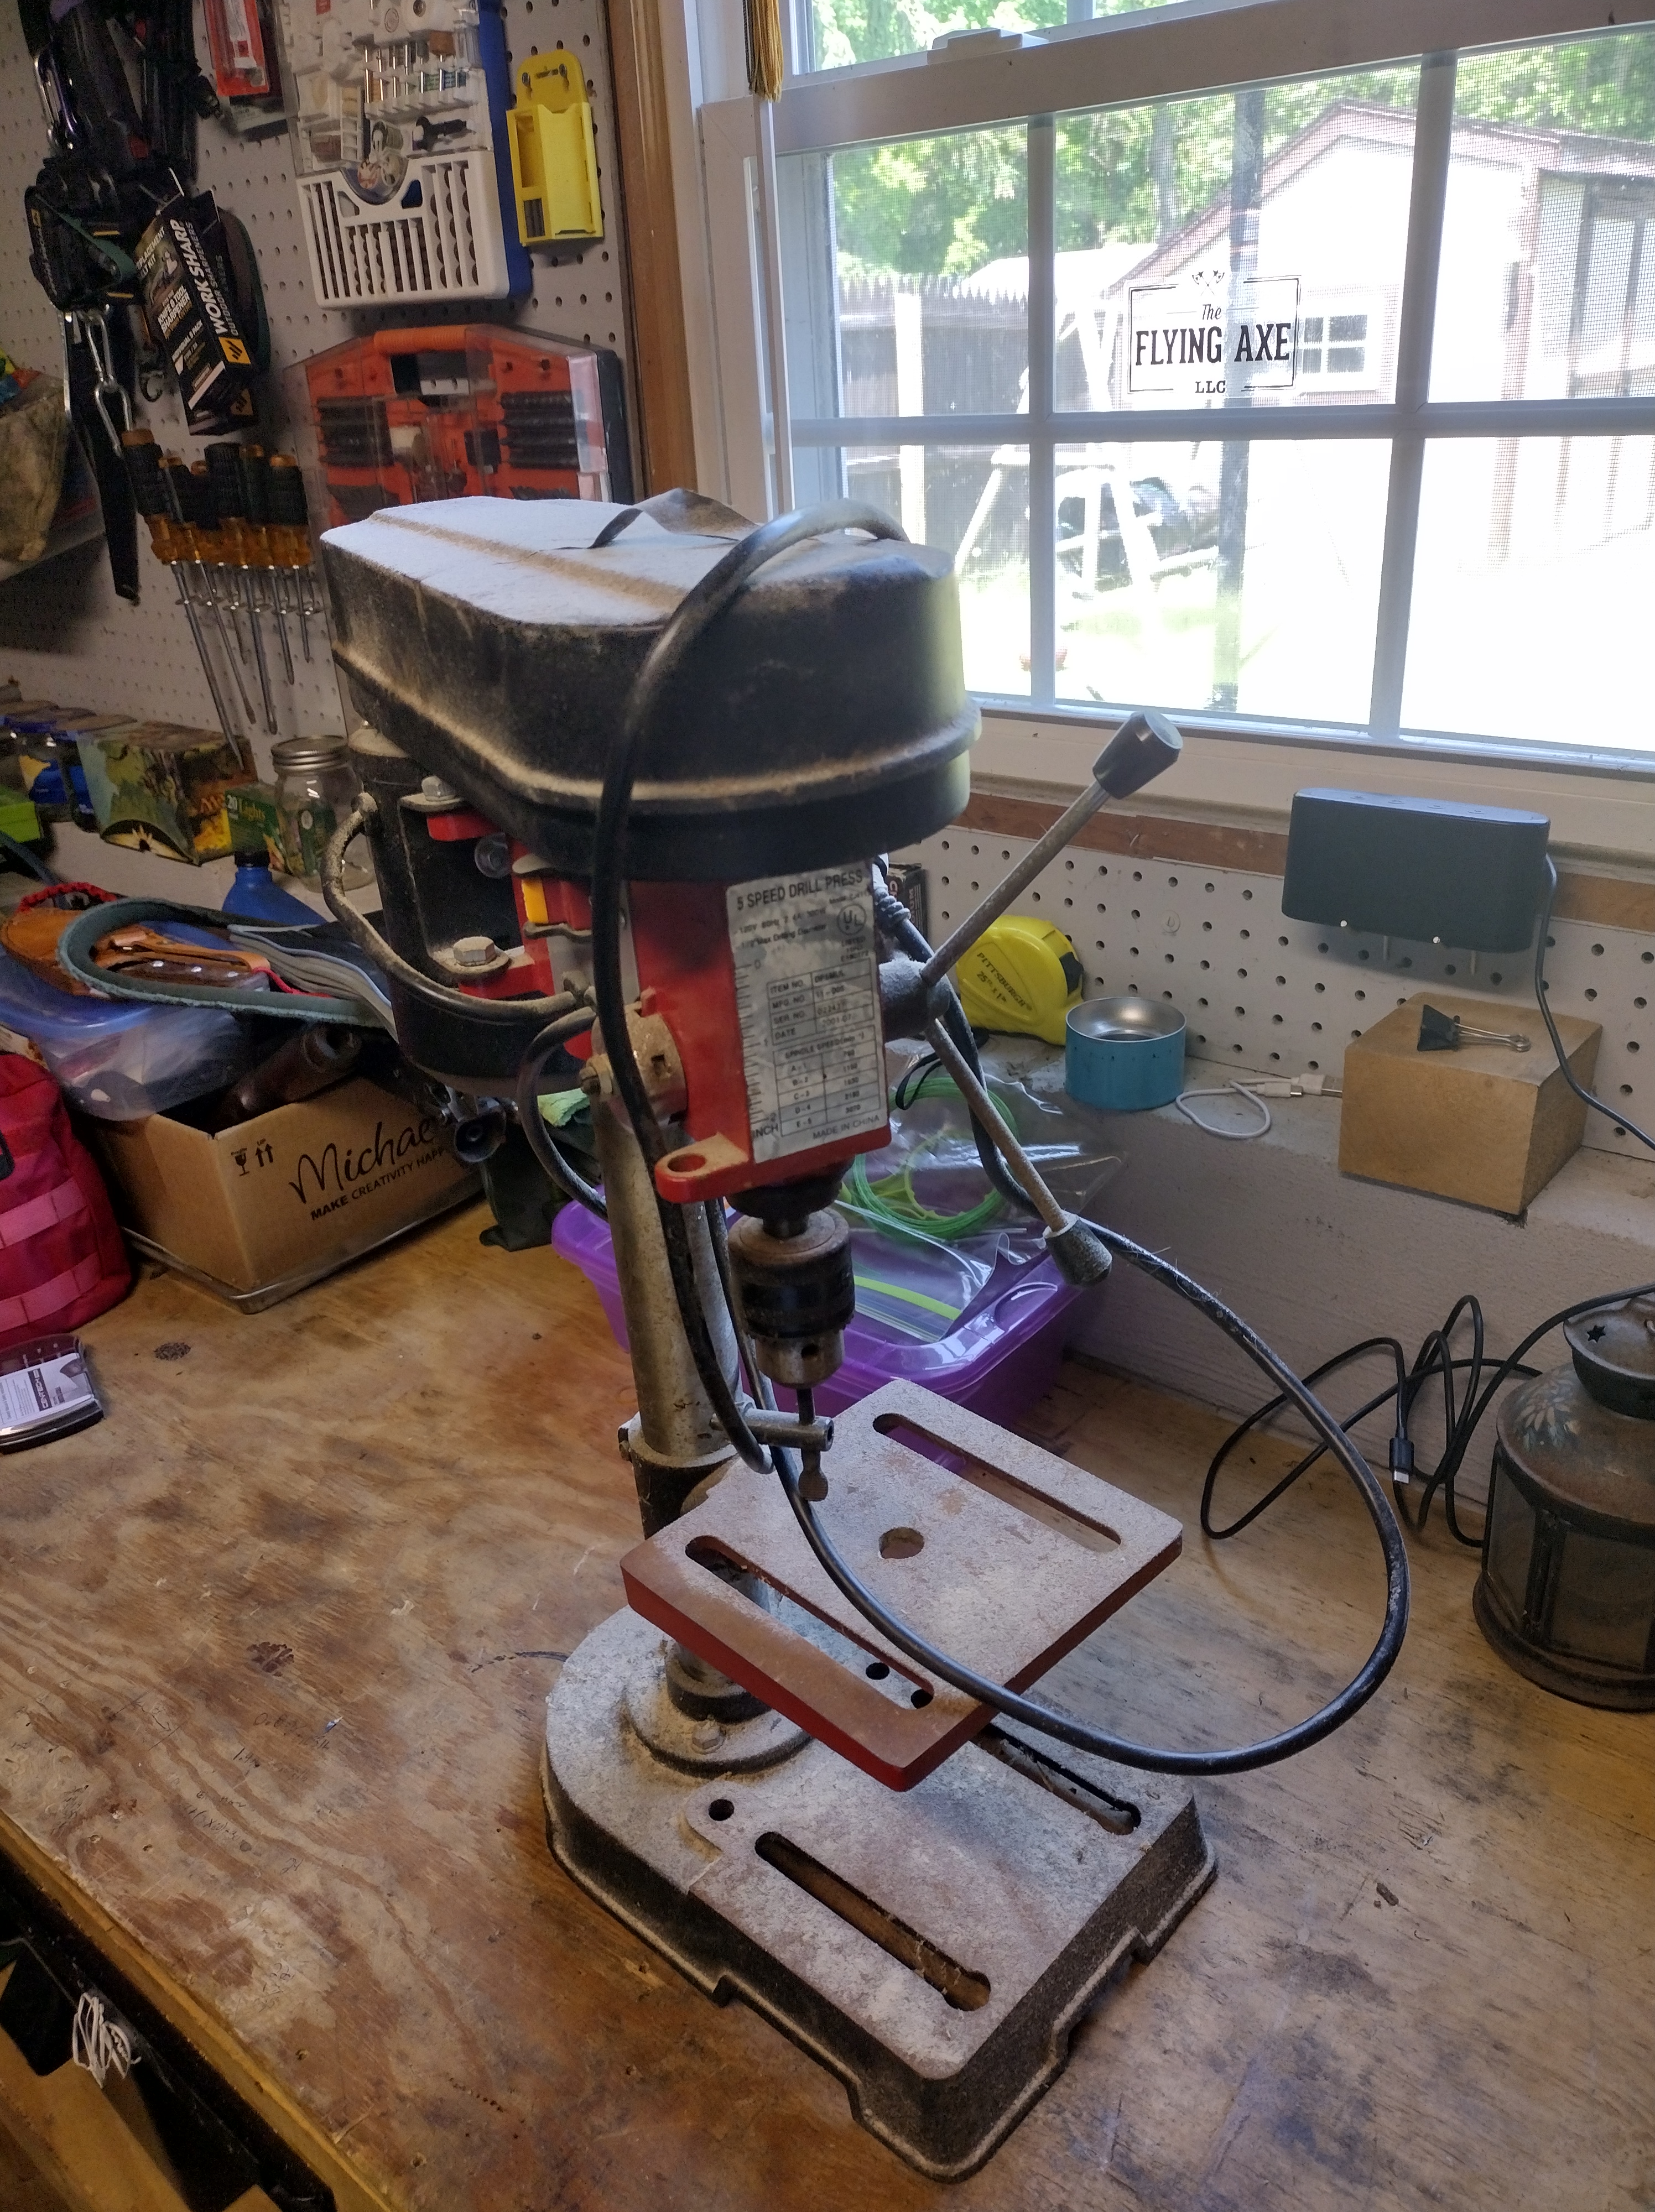
I then ended up borrowing a drill press from my neighbor to drill the vent holes as I could not get the reqired pressure to drill them with my hand drill. The vent hole I drilled were 1/16th of an inch in size.
Testing
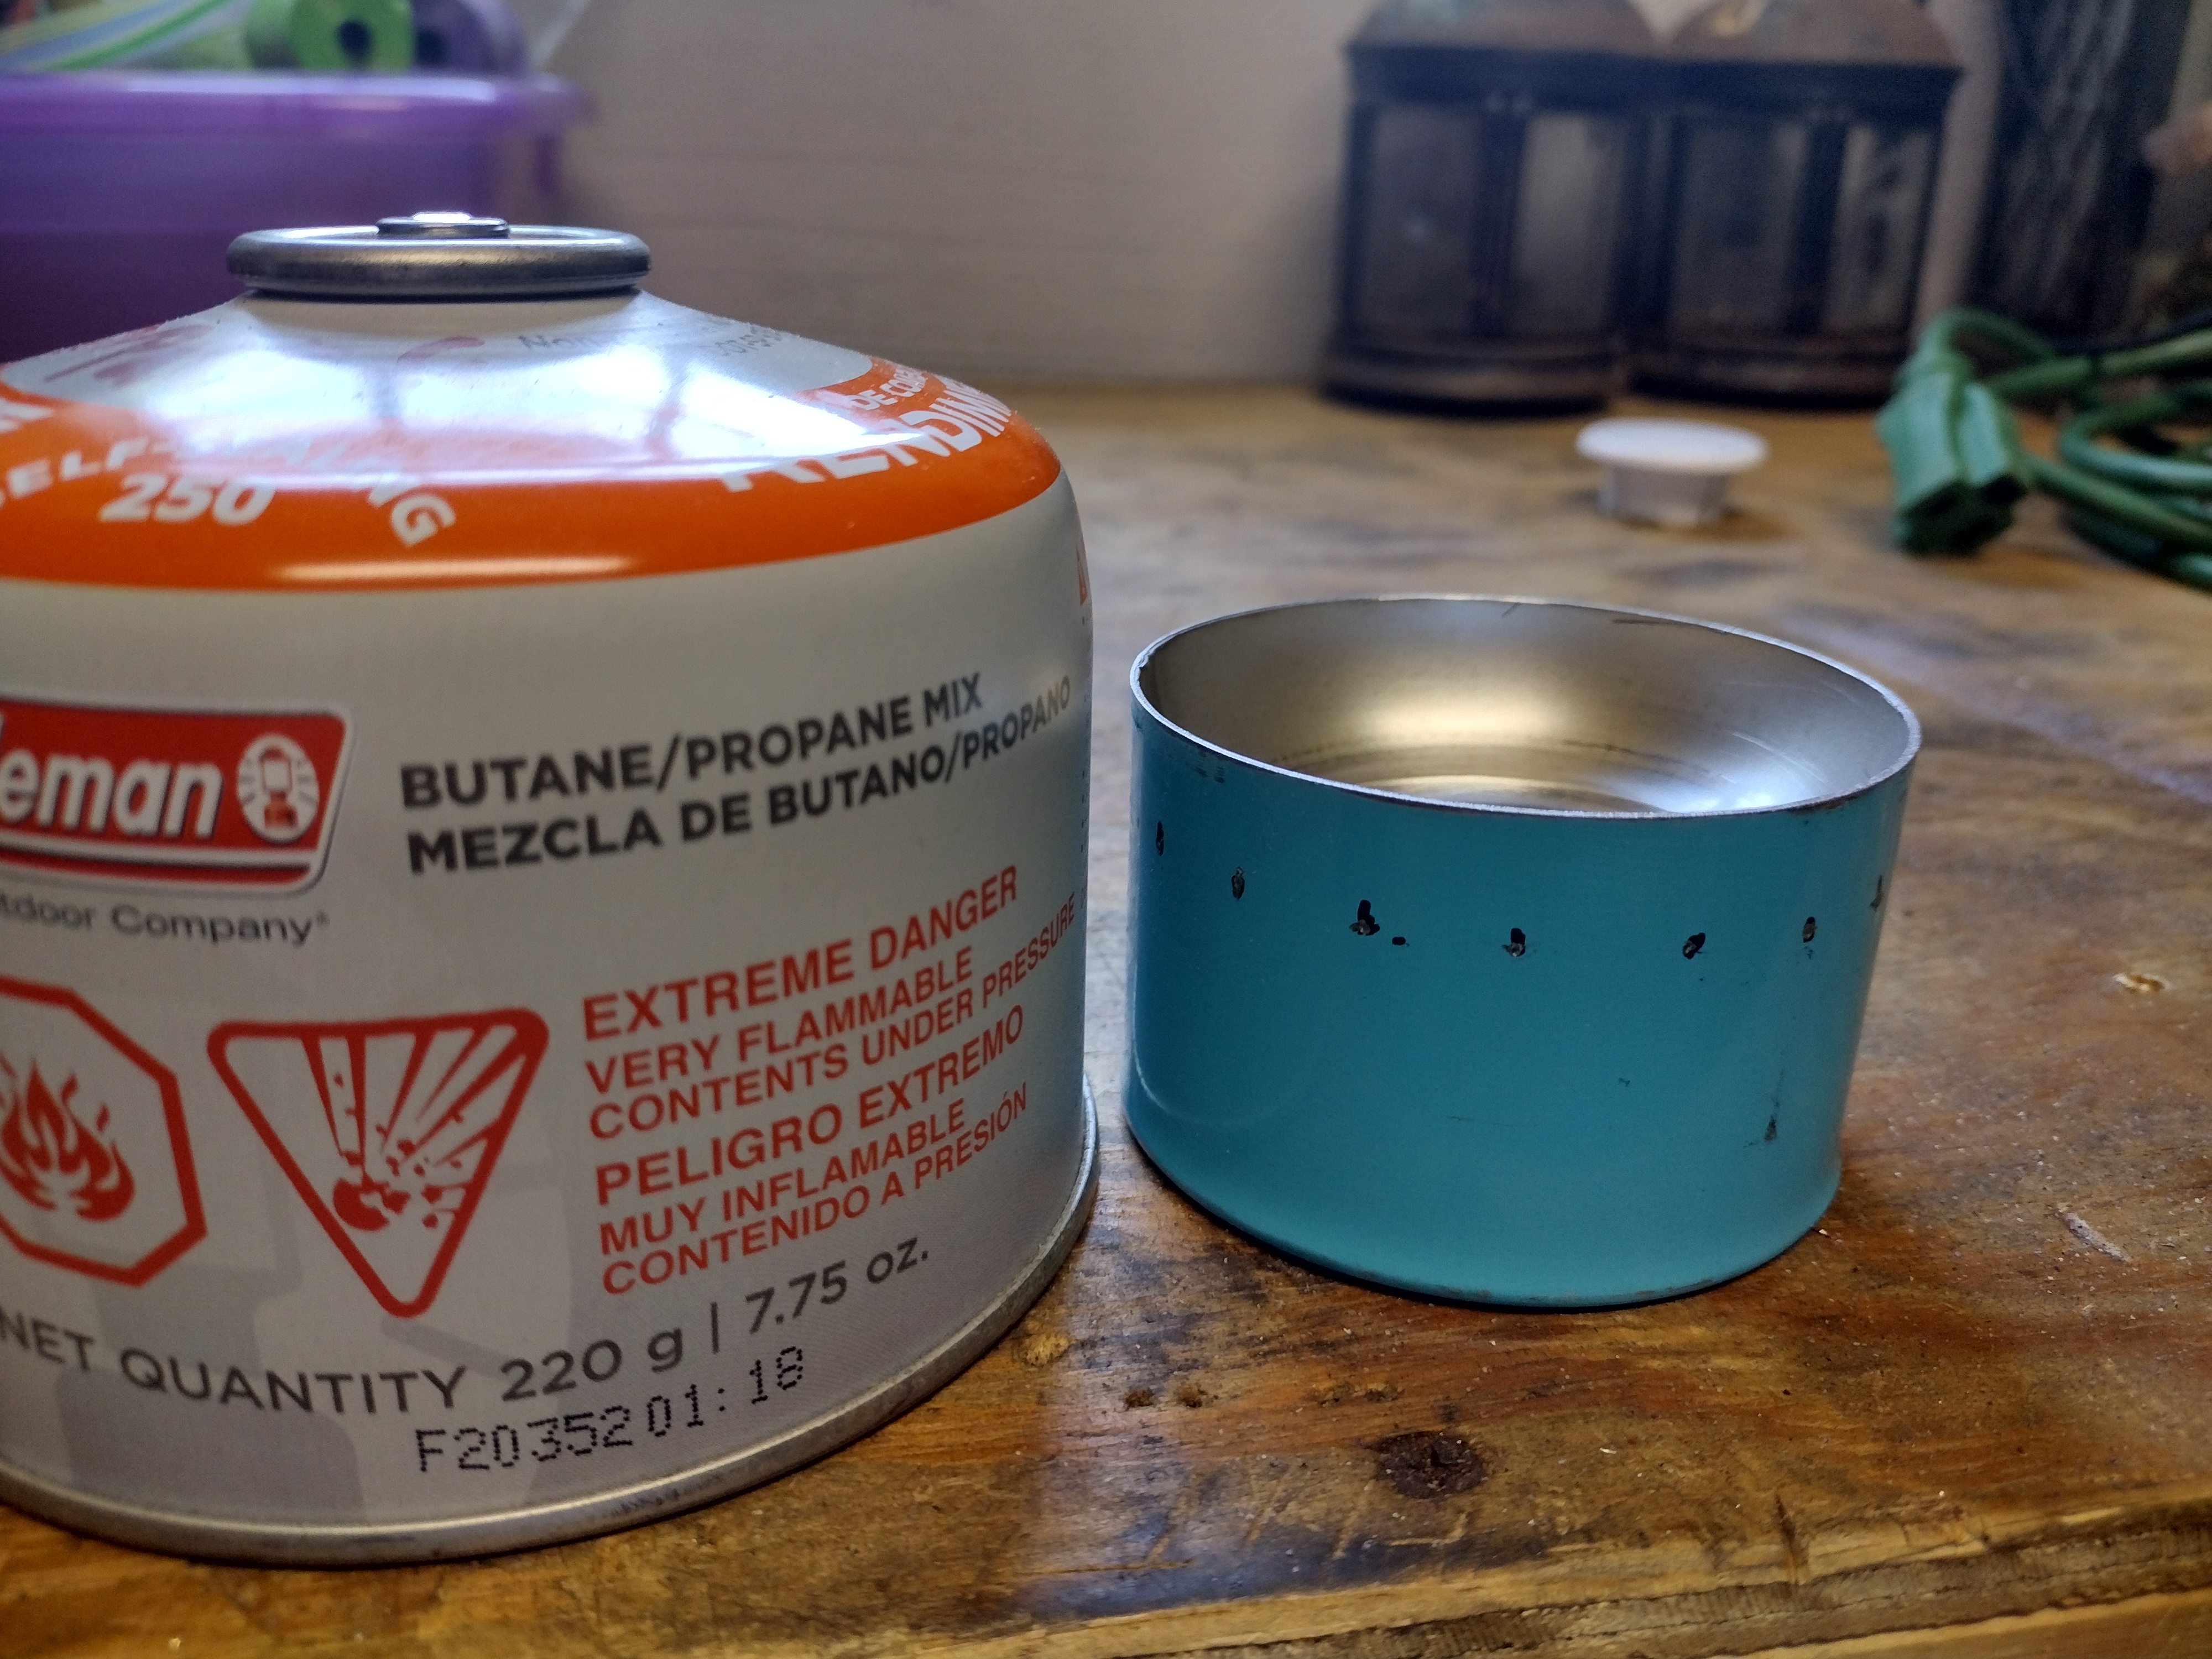
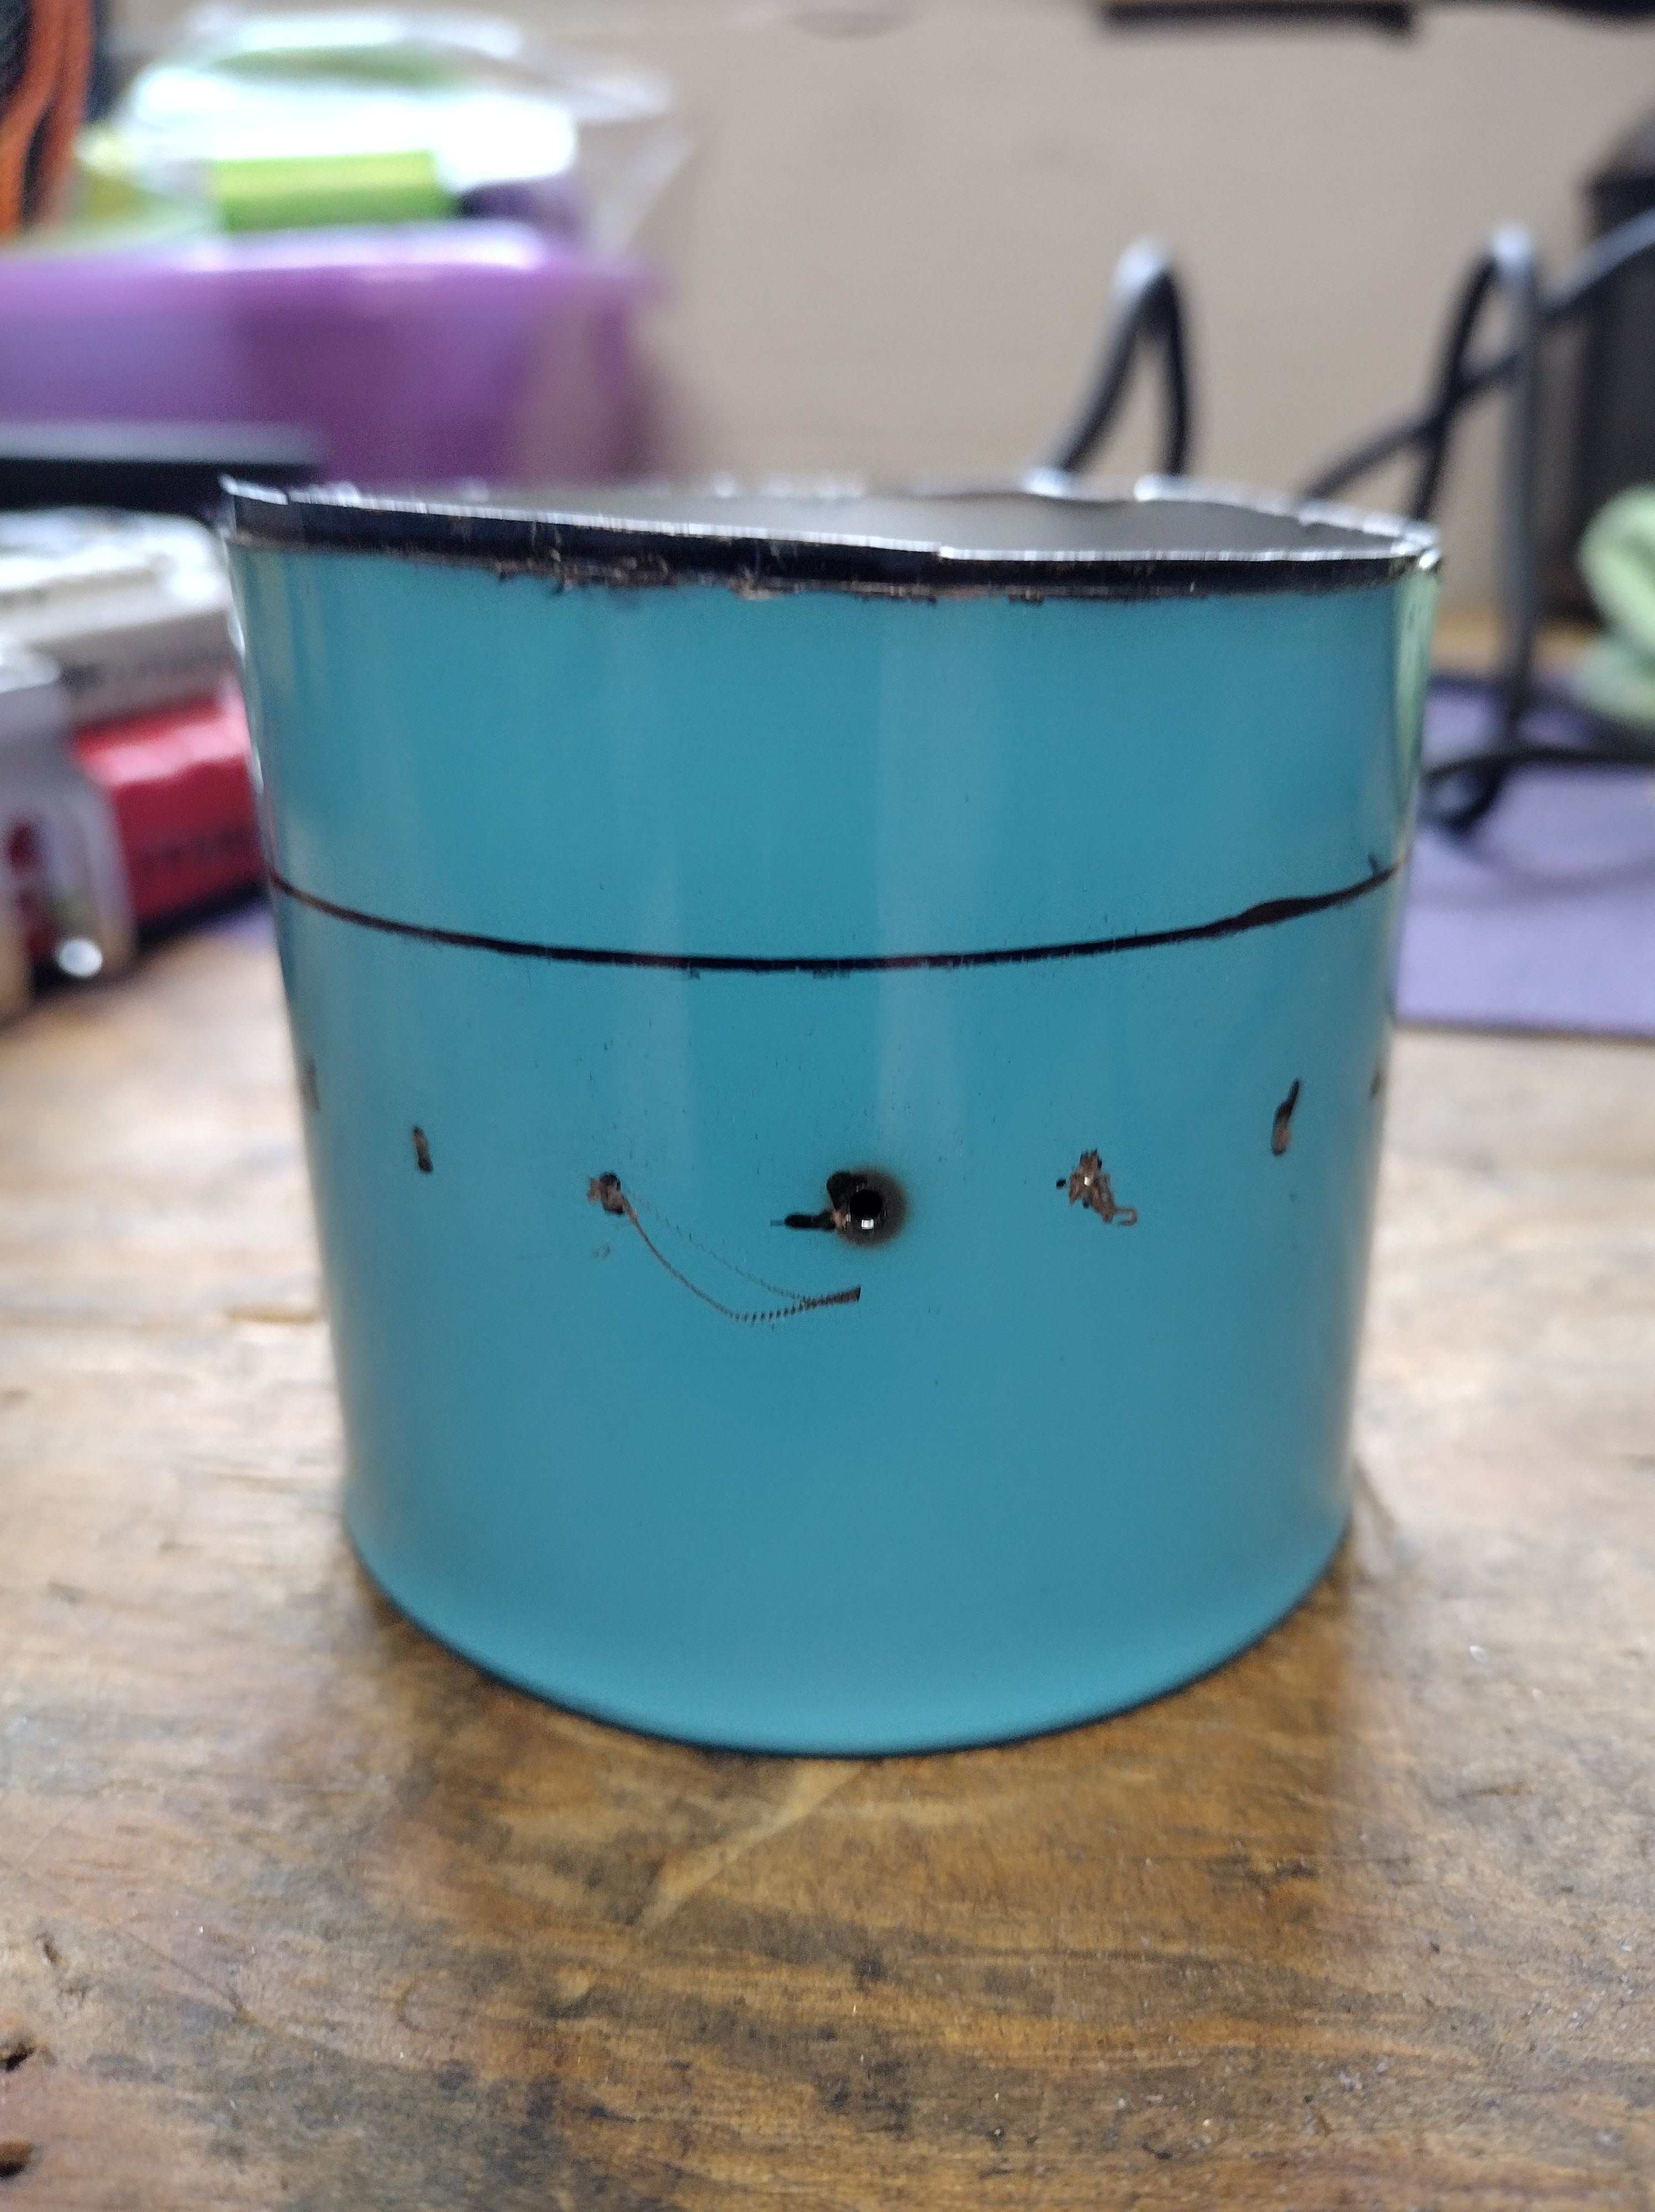
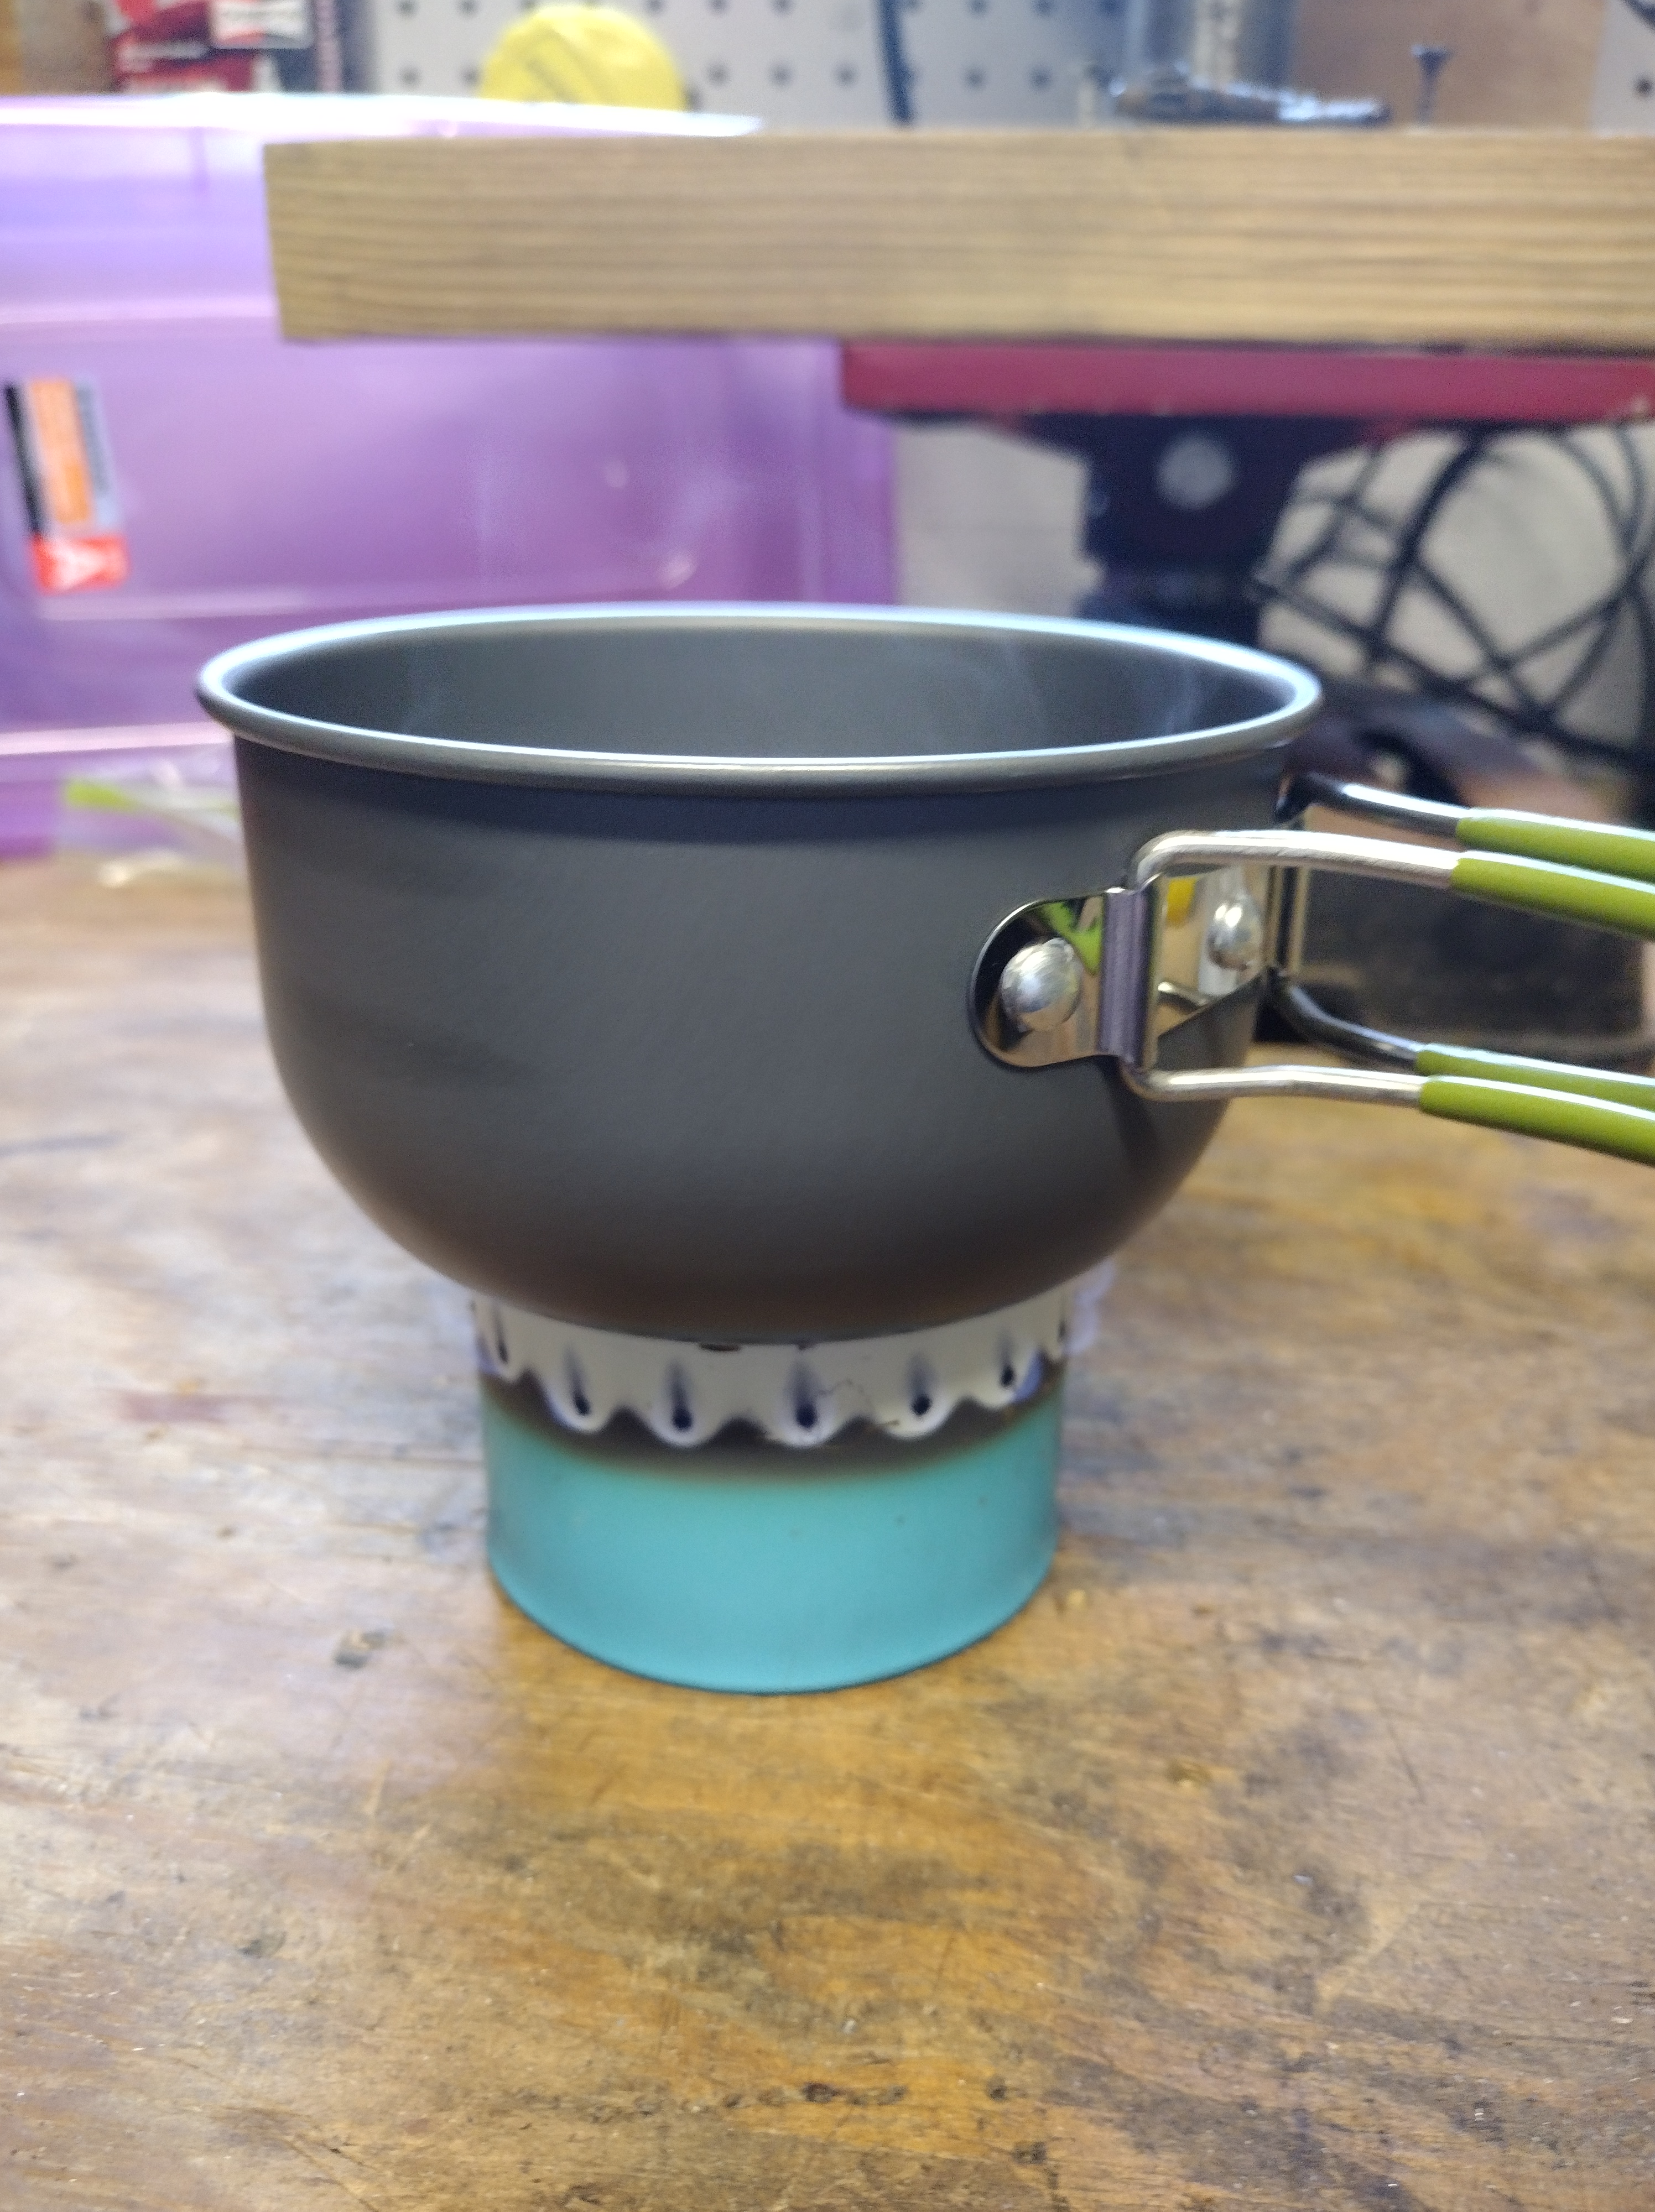
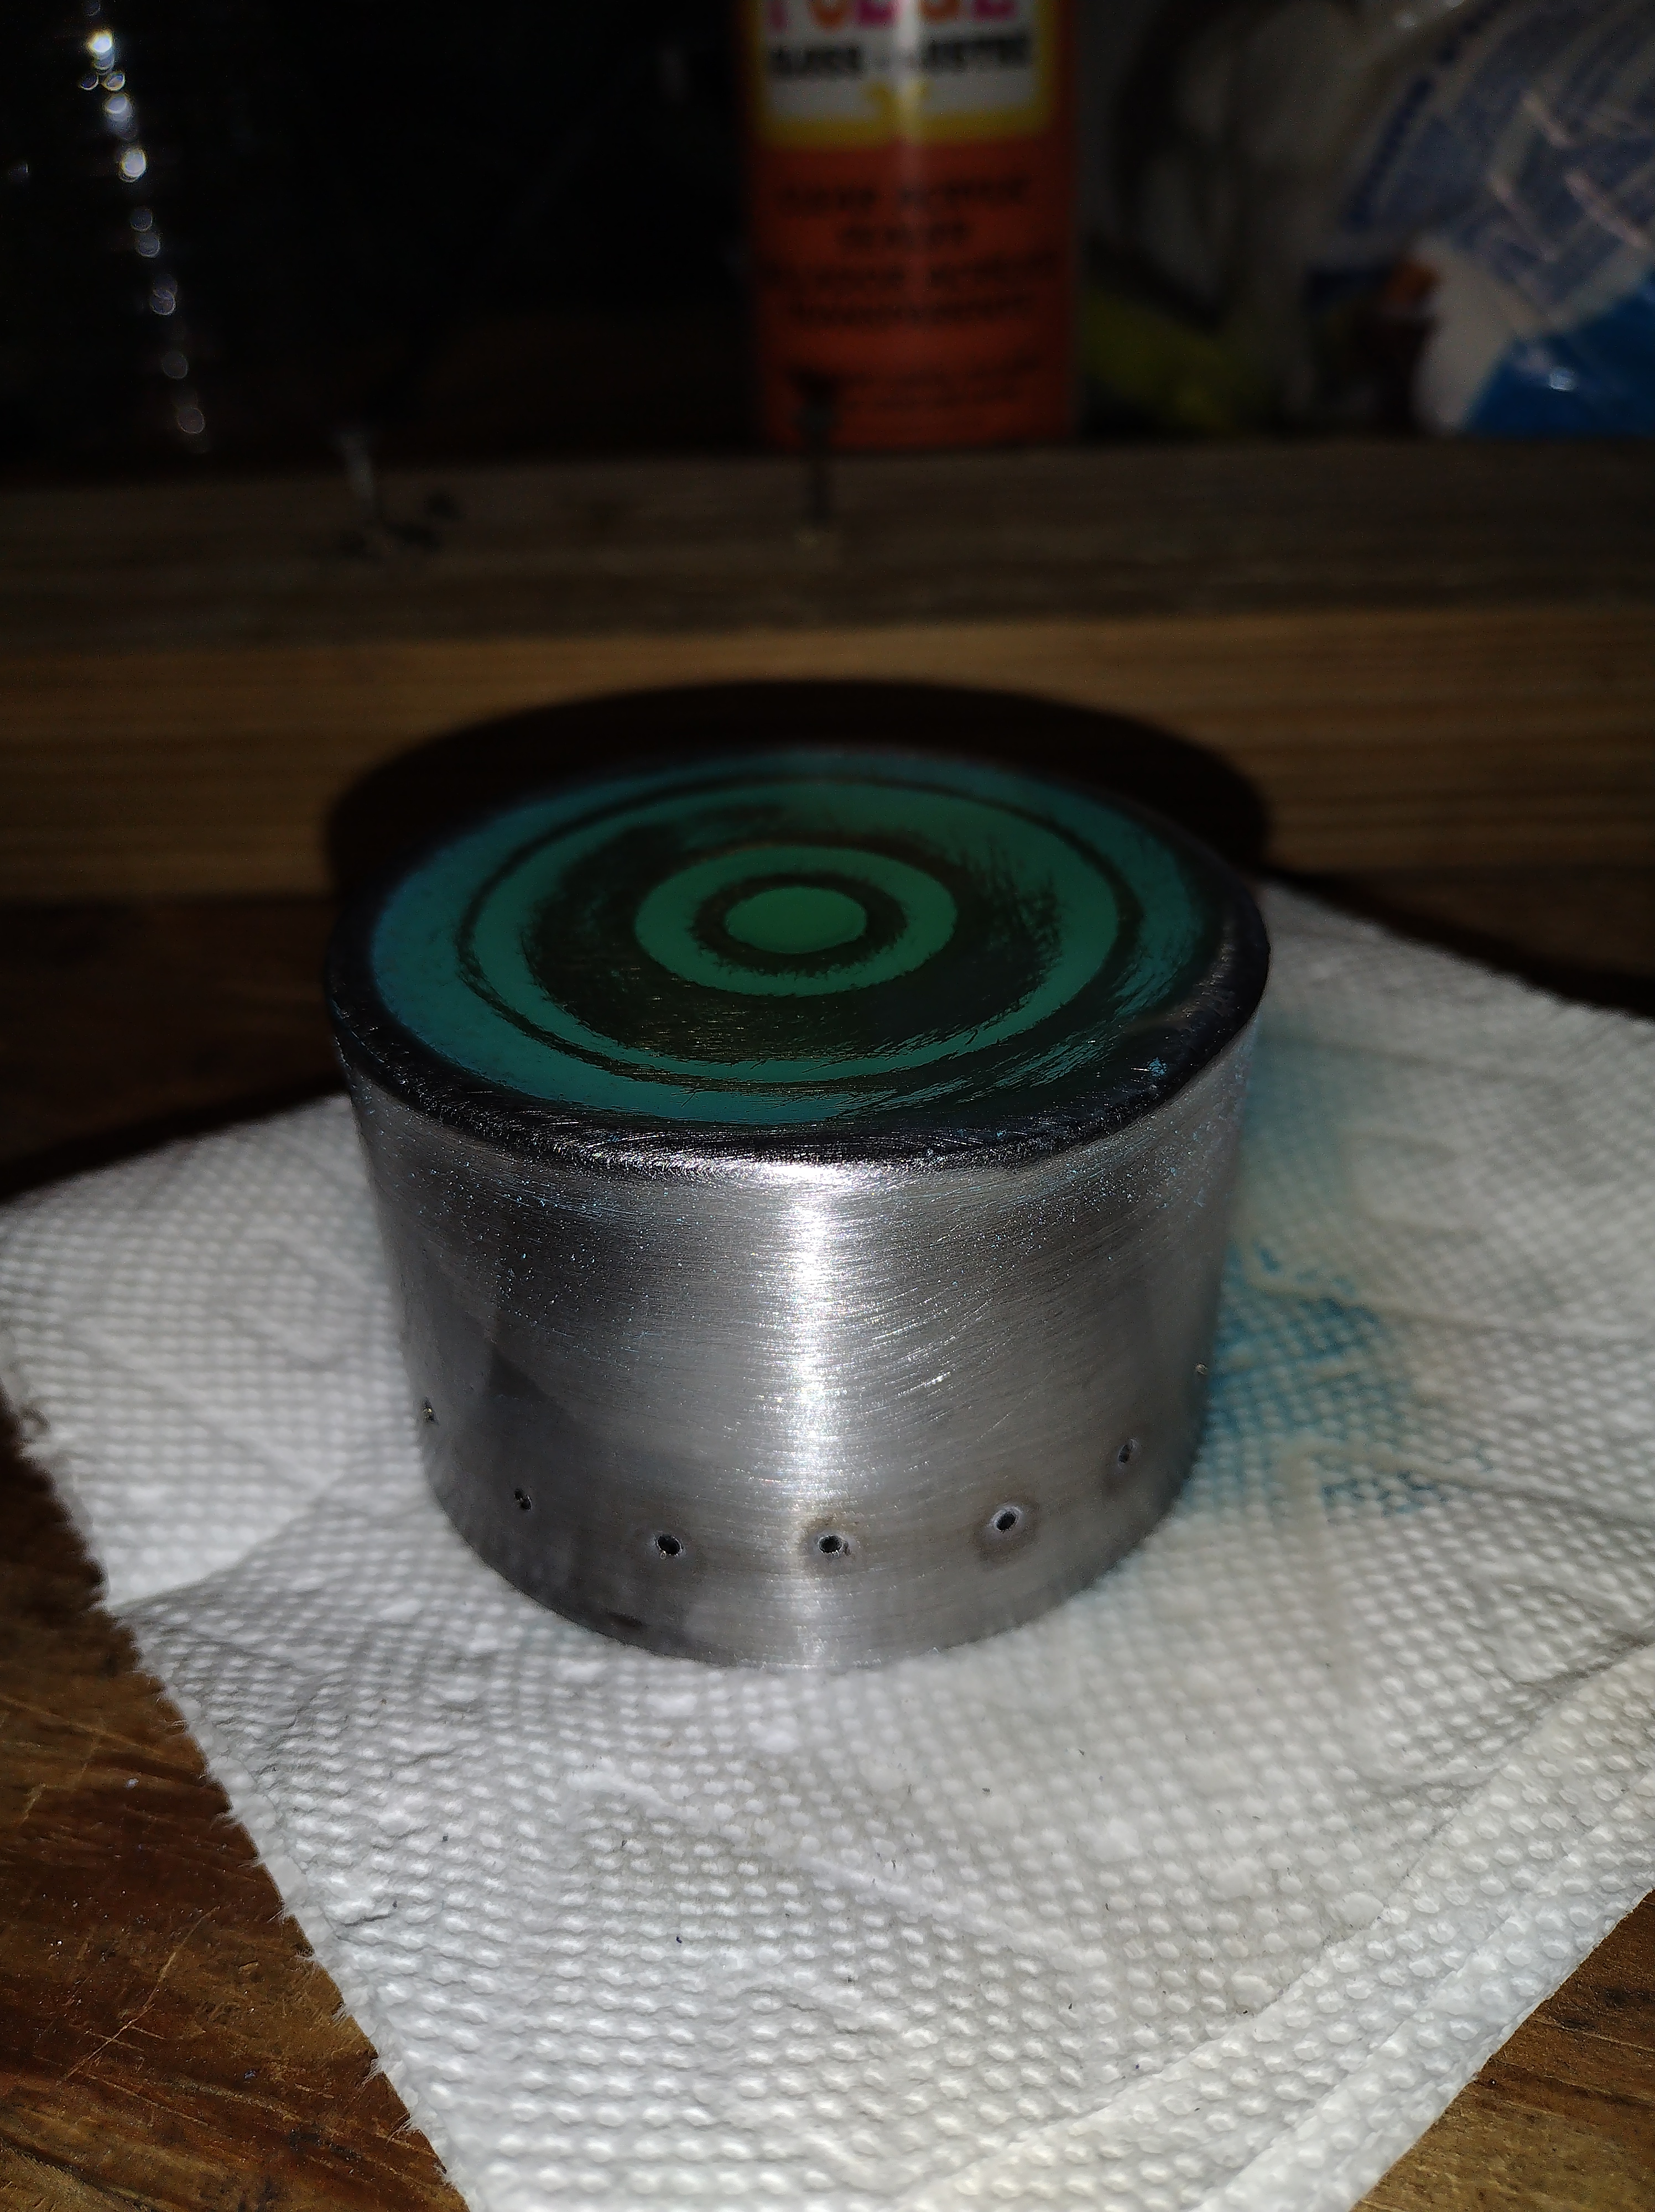
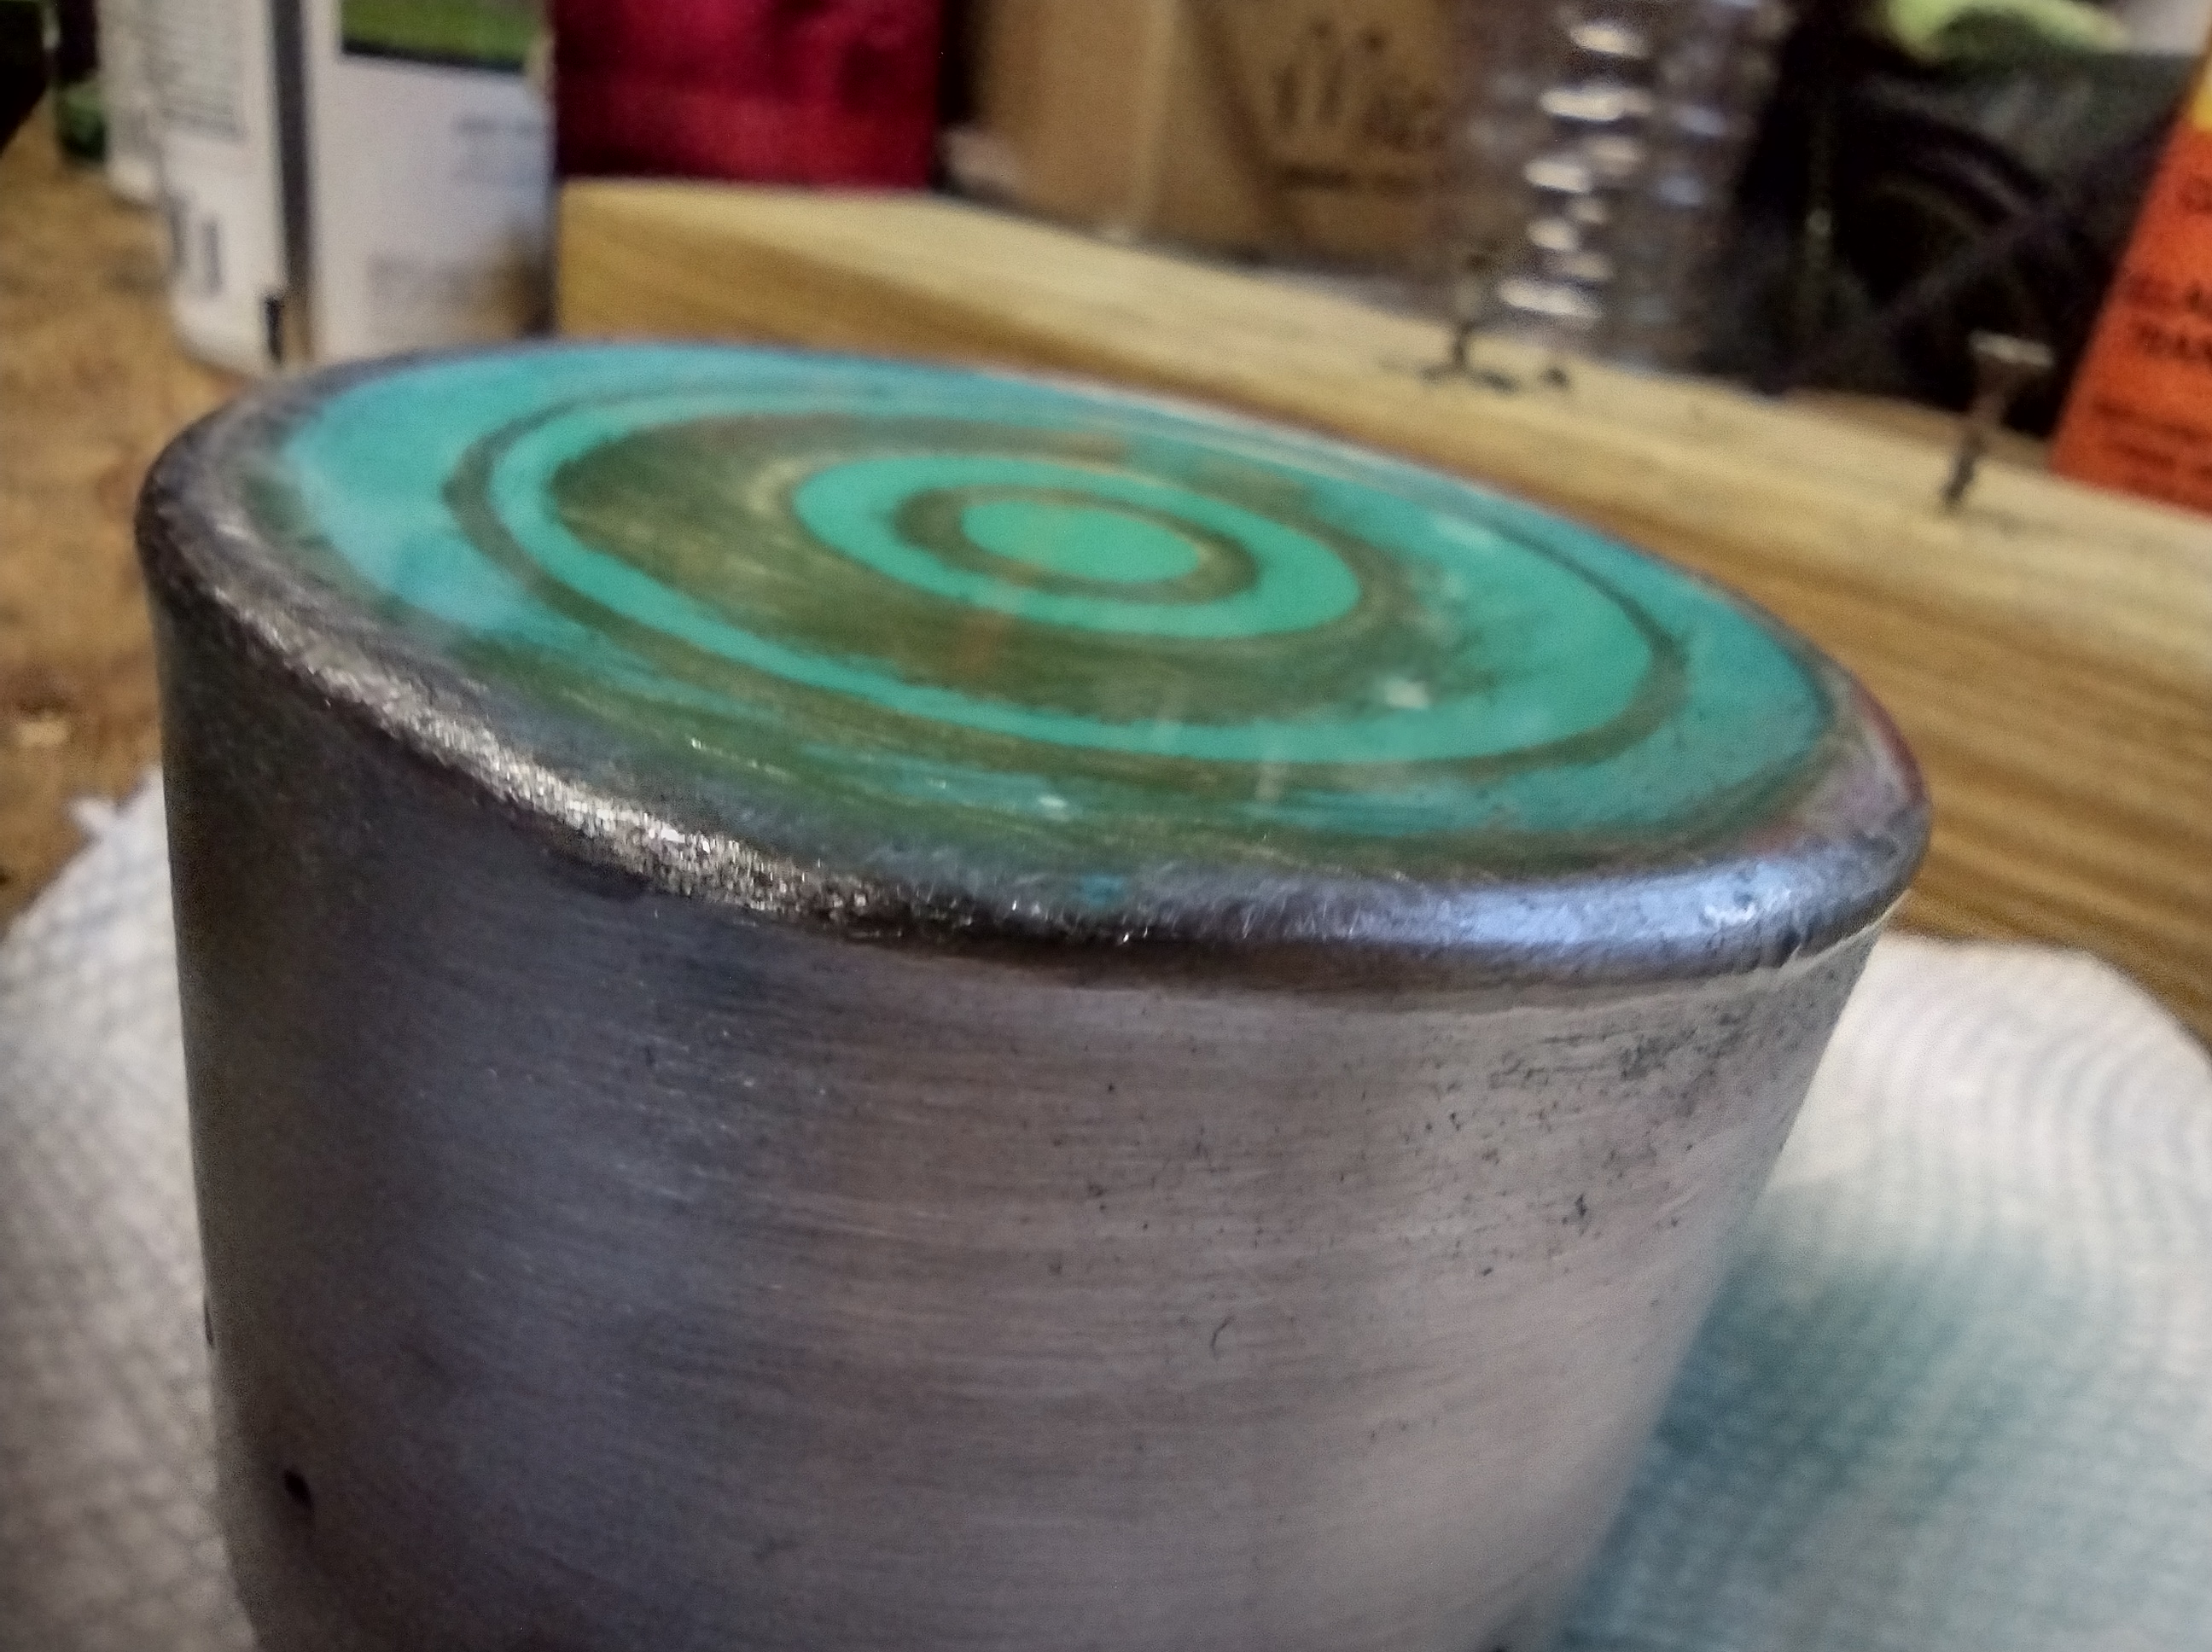
Once everything was finished, I, of course, had to test it to see if I made my first working alcohol stove. For fuel, I chose to use HEET in the yellow bottle. Pouring about an ounce of fuel in the stove, I lit it and waited. It took about a minute or so, but to my delight, I got flames coming out ot the vent holes. I can’t tell you how excited I was, I made my first ever alcohol stove and IT ACTUALLY WORKED!!!!
It’s Finished, Right?
Well as you might imagine, I had to muck with it some more. This time I started by trying to sand just the area affected by the flames. Well that of course turned into removing the blue coloring from the entire stove with the idea to repaint a different color. That of course went a different direction and as of the writing of this article, it remains unpainted and in a “Brushed Aluminum” finish state. Will I leave it go as is or repaint it as intended? I don’t know. Time will tell what I end up doing.


Conclusion
This was a fun project. I had hoped to find the sacrificial water bottle at my local Dollar Tree, but this year they decided not to carry the metal water bottles. So I ended up paying quite a bit more at my Walmart to get the starting bottle. If I had, had everything I needed at the start, this could be an afternoon project. This is only one way to make an alcohol stove. There are cat food can stoves, tuna can stoves, soda can stoves, ect. I likely will explore some of the other ways to make alcohol stove, and there are plenty of examples out there, especially on places like YouTube to learn from.
What did I learn? Well, if you take your time, it’s not hard to make, and its kinda fun too. Preperation is key. If you are going to remove the paint from your bottle, it’ll work better BEFORE you cut the bottle. Same goes for the trimming at the mouth IF you happen to buy a double wall bottle. A drill press, if you can get your hands on one, is a God send.. A hand drill can be done, but the drill press makes it 1,000 times easier. I definetly recomend you to try making an alcohol stove of your own. With a few somewhat simple tools most should have at home or at least know someone who does, you can do this project in an afternoon.
Links
Till next time, Happy Trails and remember, If I can do it, You can do it.

